Budget-Friendly Bathroom Refresh
Project Overview
Give your bathroom a fresh new look without spending a ton. These budget-friendly ideas are easy to tackle and actually make a difference.
Living in a temporary rental sounded kind of fun at first-this place has a projector, a foosball table, and even a Pac-Man machine.
For a while, it felt like a quirky little vacation. But after a few months, we began to miss the cozy, familiar things that make a place feel likehome.
The hall bathroom was looking especially blah, so I gave my daughter's space a quick and budget-friendly refresh-nothing fancy, just a new shower curtain and a few small touches that made a big difference.
If your bathroom could use a little love too, I've rounded up some affordable ideas to help it feel more likeyou.
You can see what our bathroom looked like before just below. The difference a shower curtain and rug make to this entire space is quite remarkable!
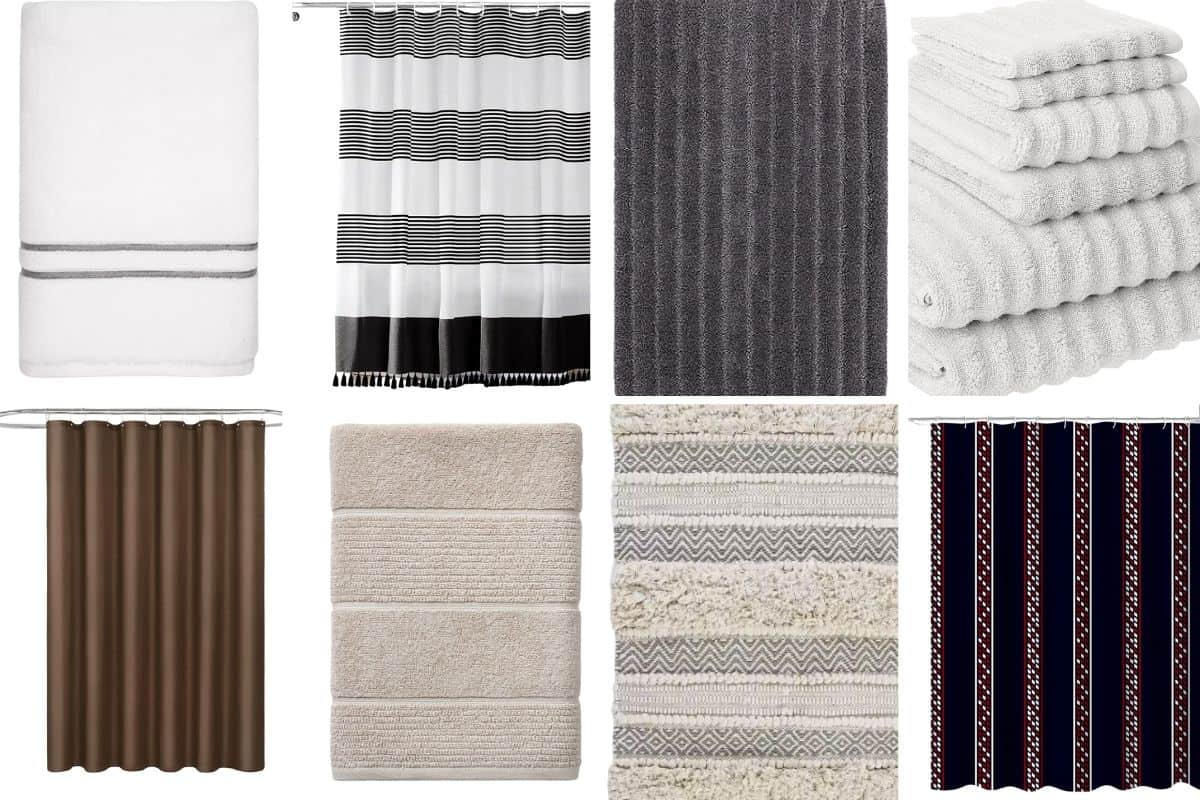
In my opinion, changing the shower curtain has the most significant impact on a bathroom at a pretty low price point!
Here are some of my favorite shower curtains.
1|2|3|4|5|6|7|8|9|10
Right after shower curtains come the rugs! Textiles in a bathroom make all the difference, and a rug can totally transform your flooring!
Here are 10 of my favorite bathroom rugs for any bathroom.
1|2|3|4|5|6|7|8|9|10
Replacing bathroom towels always feels like a little refresh.
One trick I love for keeping things organized is giving each bathroom its own towel color or style.
In our house, the light gray towels are reserved for the downstairs bathroom, while the dark gray ones are used in the upstairs bathroom.
It makes sorting laundry easier and keeps everything looking tidy.
These bathroom towels are a top pick for comfort, softness, and style!
1|2|3|4|5|6|7|8|9|10
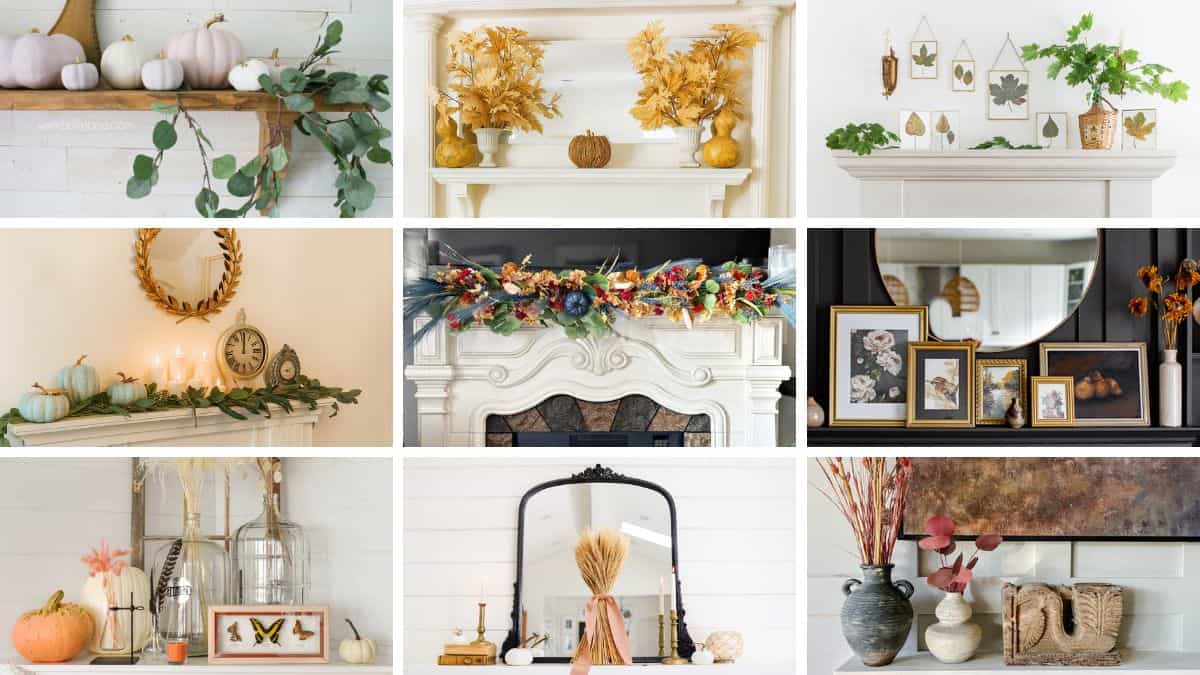
Are there other areas of your home that could use a refresh? Here are a few more decorating guides!
Hi, I'm Katie!
I'm so glad you're here. Want to make something fabulous? I'm here to help!
Materials Needed
- Basic craft supplies
- Scissors or cutting tools
- Adhesive (glue, tape)
- Measuring tools
- Decorative elements
- Protective workspace covering
- Storage containers
- Cleaning supplies
Step-by-Step Instructions
Prepare Your Materials
Gather all the required materials and tools. Make sure you have everything listed in the materials section before starting.
Set Up Your Workspace
Find a clean, well-lit area to work. Cover your surface with newspaper or a craft mat to protect it.
Follow the Main Steps
Carefully follow the instructions step by step. Take your time and don't rush through any part of the process.
Add Personal Touches
Once you've completed the basic project, feel free to add your own creative touches and personalization.
Final Assembly
Put all the pieces together according to the instructions. Double-check that everything is secure and properly attached.
Pro Tips
💡 Tip: Take your time and enjoy the creative process
💡 Tip: Don't be afraid to experiment with different colors or materials
💡 Tip: If you make a mistake, don't worry - it's all part of learning
💡 Tip: Share your finished project with friends and family
💡 Tip: Take photos of your progress to document your crafting journey
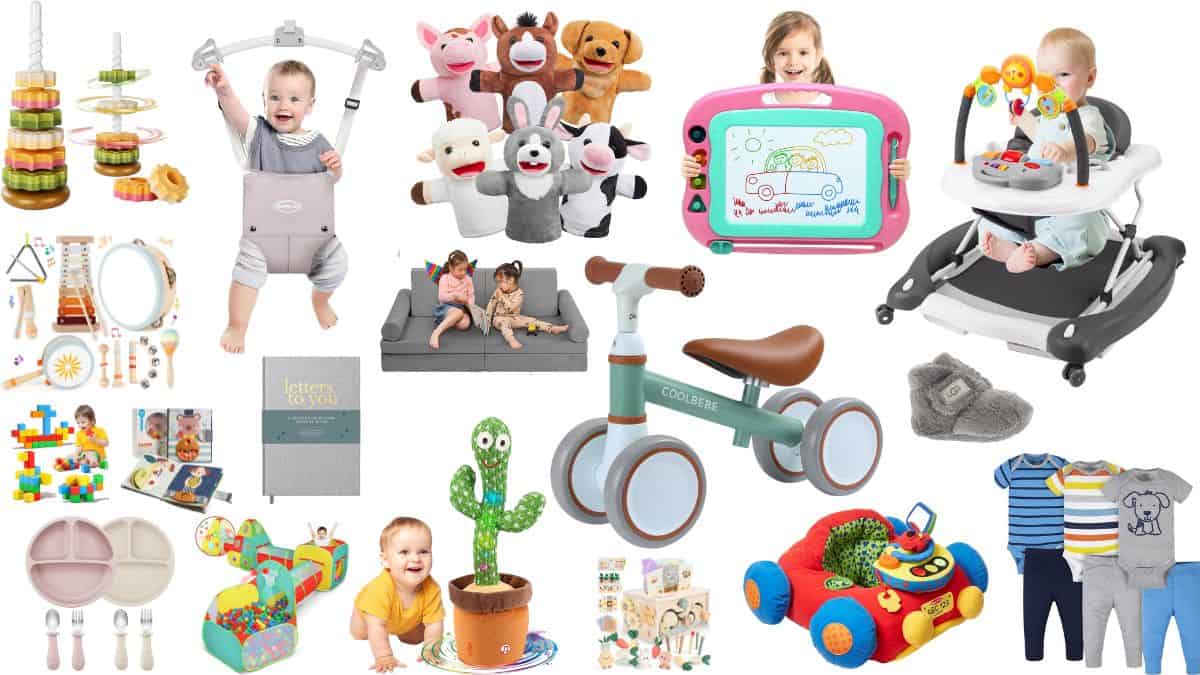
You Might Also Like
References & Further Reading
Explore these trusted resources to deepen your crafting knowledge and find more inspiration for your next project.
- Do It Yourself — Wikipedia Overview of DIY culture, history, and common techniques across woodworking, home improvement, and crafting.
- Handicraft — Wikipedia Background on traditional handicrafts, materials, and the cultural significance of handmade goods.
- Instructables Community-driven DIY project library with step-by-step photos, videos, and printable instructions.
- Woodworking — Wikipedia Techniques, tools, joinery methods, and the history of working with wood as a craft.
- Sewing — Wikipedia History and modern practice of sewing, including stitches, equipment, and fabric choices.
- Bob Vila Trusted home improvement, tool reviews, and illustrated how-to guides from a household name.
- Papercraft — Wikipedia Art forms that use paper as the primary medium, from origami to paper-mache.
- Michaels — Project Ideas Project walkthroughs, material lists, and weekly craft ideas from a major arts & crafts retailer.