Make a Happy Valentine's Day Banner with Shaker SVG File
Project Overview
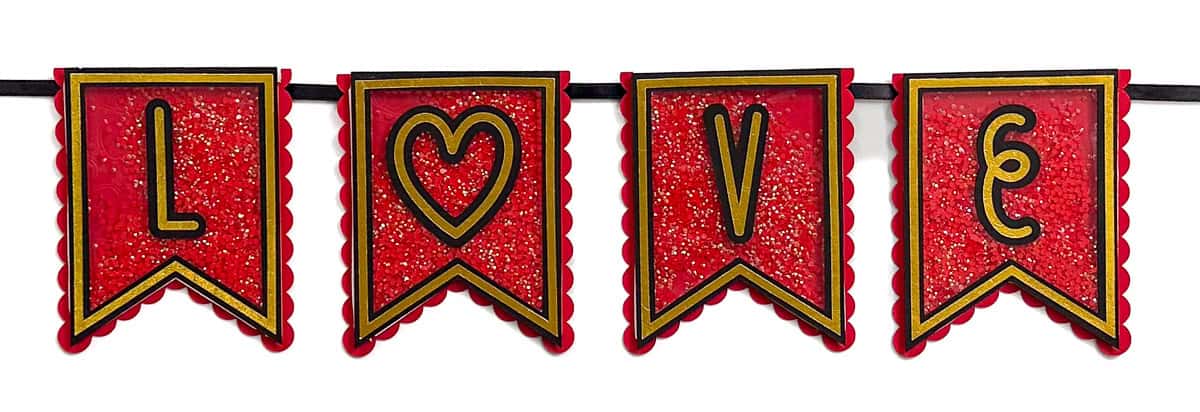
Make Valentine's Day extra special with a shaker banner! This SVG file helps create a fun, interactive decor piece perfect for your home or party.
These paper-cut decorations are perfect for your Valentine's Day decor!
You can create a banner tailored to any celebration or occasion designed with a customizable SVG file that includes the entire alphabet.
Whether you're sprucing up your home or adding a touch of love to your Valentine's party, this fun and versatile project is a fantastic way to celebrate the season of love.
If videos are your thing, you're in luck-I've got a full tutorial ready for you!
Subscribe to my YouTube channeland stay inspired with every new project.
For the following steps, I'll be using Cricut Design Space.
If you use Silhouette Studio or a different design software, your steps may be different than mine.
To start, upload the SVG into Cricut Design Space and add it to your Canvas.
The banner size is about 3x4 inches but can be resized to fit any need.
When designing files, operations cannot be assigned to lines. This means all lines are imported as cut lines.
A few lines need to be changed before the file is cut.
Start by highlighting the entire design and ungroup.
The first section I'll focus on is the rectangle with holes on each end. Two lines in this piece need to be changed to score lines.
Highlight this section. The layers panel shows that the lines are cut.
Highlight only the line layer, then click edit, operation, and change the lines to score.
Back on the canvas, you can see that the lines have changed from cut to score.
To finalize this section, highlight the score lines and the shape they are layered on top of and attach.
The next section to change is the banner flag with the heart pattern.
Highlight that drawn heart pattern and change those lines to score. Then attach the scored layer to the flag base piece.
For my banner, I am going to create the word Love, so I can delete all of the letters that I don't need.
I also need 4 banners, one for each letter. So copy and paste the banner pieces to get to 4.
The pieces are now ready to be scored and cut. Click Make it, and choose the material for each mat.
The green mat is the acetate sheet.
Follow the prompts in Cricut Design Space. It will show what tools to load and for what mats.
Apply glue to the back of each gold piece.
Then, center it on the thicker-cut black piece of the same shape.
Repeat for all gold and black pieces.
Remove the protective sheets on the front and back of the acetate pieces.
Apply a thin glue line around the back of the black pennant piece and adhere the acetate shape.
The base pennant pieces are scored and have an engraved line around the inside.
Apply the adhesive foam along that line.
The foam strips can be difficult to handle.
Leave the top protective she in place, and try not to touch the sticky side. Instead, hold the strip by the sides.
Make sure that all of the sides butt up with each other. If there are any holes, the filling can shake out.
Carefully add the resin rhinestones to the center of each banner flag with a spoon.
Use a measuring spoon so all of the flags have the same amount.
Carefully peel back the strips to reveal the sticky on the foam strips.
Place the assembled acetate pennant on top and press it into place.
Apply glue to the back of each letter, and center each on a different banner flag.
Place the banner pieces in backward order, E V O L, then flip them face down.
Apply glue to the scored rectangle piece and place one at the top back of each flag.
Gluing them to the same spot on all of the flags.
Cut a ribbon that is longer than needed. It is better to have extra than not enough.
String the ribbon through the holes.
Place the banner flags evenly apart from each other, and apply a thin glue line underneath the ribbon.
Press the ribbon into the glue and let it dry completely.
This is such a fun banner to make, and it is also fun to play with!
Shaking the flags so the filler moves around is quite addictive.
The Shaker Banner SVG is also completely customizable and can easily be used to say ANYTHING!
There are also lots of filler choices! Glitter, sequence, confetti, or really anything small and thin.
What will your shaker banner say?
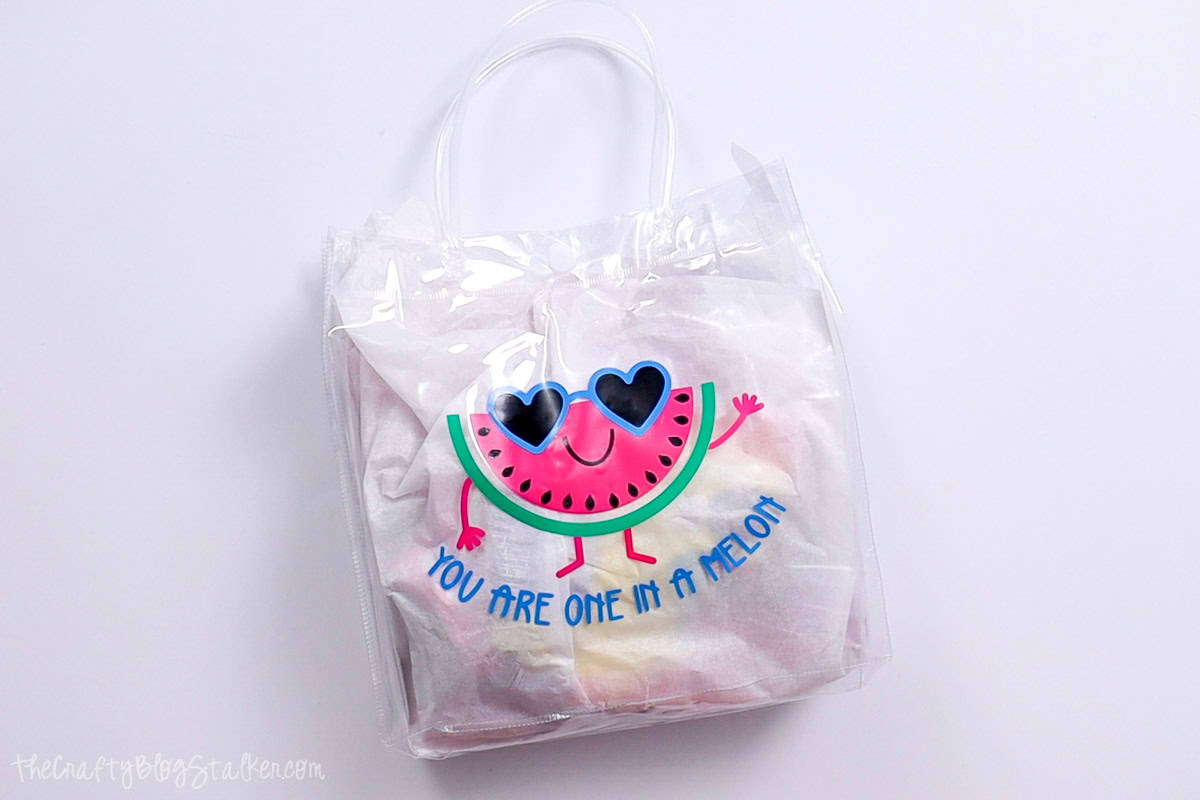
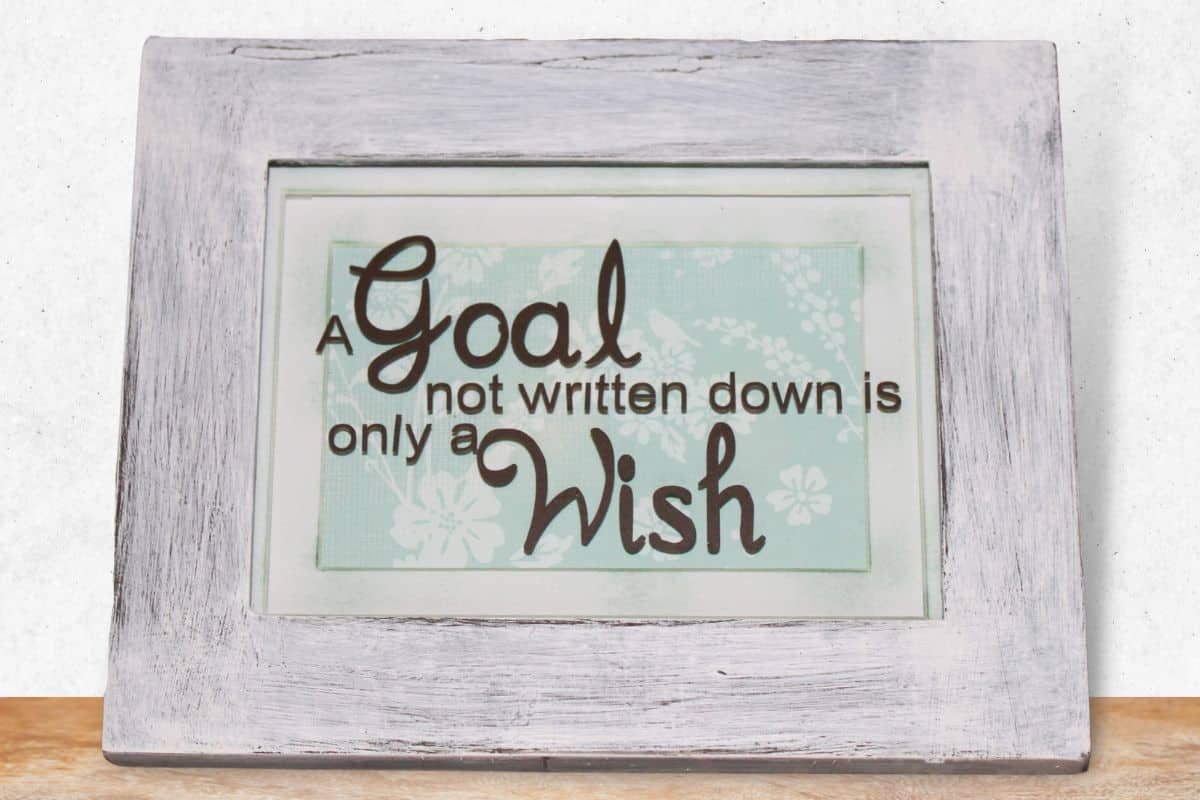
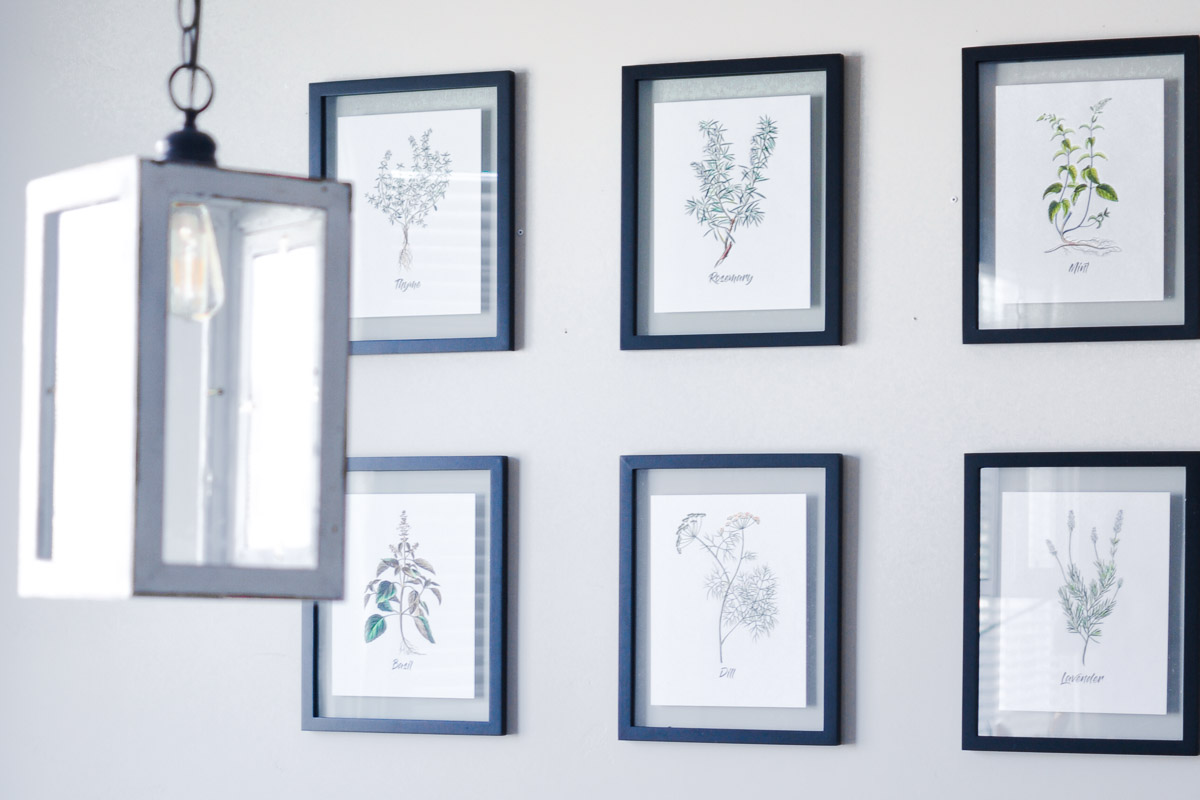
SVG crafts are some of my favorite to create!
Here are a few more fun ideas.
Materials Needed
- Colored cardstock or patterned paper
- Craft scissors or paper cutter
- Double-sided tape or glue stick
- Ruler and pencil
- Decorative elements (ribbons, stickers, washi tape)
- Cutting mat
- Scoring tool or bone folder
- Embellishments (buttons, sequins, stamps)
Step-by-Step Instructions
Prepare Your Materials
Gather all the required materials and tools. Make sure you have everything listed in the materials section before starting.
Set Up Your Workspace
Find a clean, well-lit area to work. Cover your surface with newspaper or a craft mat to protect it.
Follow the Main Steps
Carefully follow the instructions step by step. Take your time and don't rush through any part of the process.
Add Personal Touches
Once you've completed the basic project, feel free to add your own creative touches and personalization.
Final Assembly
Put all the pieces together according to the instructions. Double-check that everything is secure and properly attached.
Pro Tips
💡 Tip: Take your time and enjoy the creative process
💡 Tip: Don't be afraid to experiment with different colors or materials
💡 Tip: If you make a mistake, don't worry - it's all part of learning
💡 Tip: Share your finished project with friends and family
💡 Tip: Take photos of your progress to document your crafting journey
You Might Also Like
References & Further Reading
Explore these trusted resources to deepen your crafting knowledge and find more inspiration for your next project.
- Do It Yourself — Wikipedia Overview of DIY culture, history, and common techniques across woodworking, home improvement, and crafting.
- Handicraft — Wikipedia Background on traditional handicrafts, materials, and the cultural significance of handmade goods.
- Instructables Community-driven DIY project library with step-by-step photos, videos, and printable instructions.
- Woodworking — Wikipedia Techniques, tools, joinery methods, and the history of working with wood as a craft.
- Sewing — Wikipedia History and modern practice of sewing, including stitches, equipment, and fabric choices.
- Bob Vila Trusted home improvement, tool reviews, and illustrated how-to guides from a household name.
- Papercraft — Wikipedia Art forms that use paper as the primary medium, from origami to paper-mache.
- Michaels — Project Ideas Project walkthroughs, material lists, and weekly craft ideas from a major arts & crafts retailer.