Funny Life is Better With A Dog Shirt and Free SVGs
Project Overview
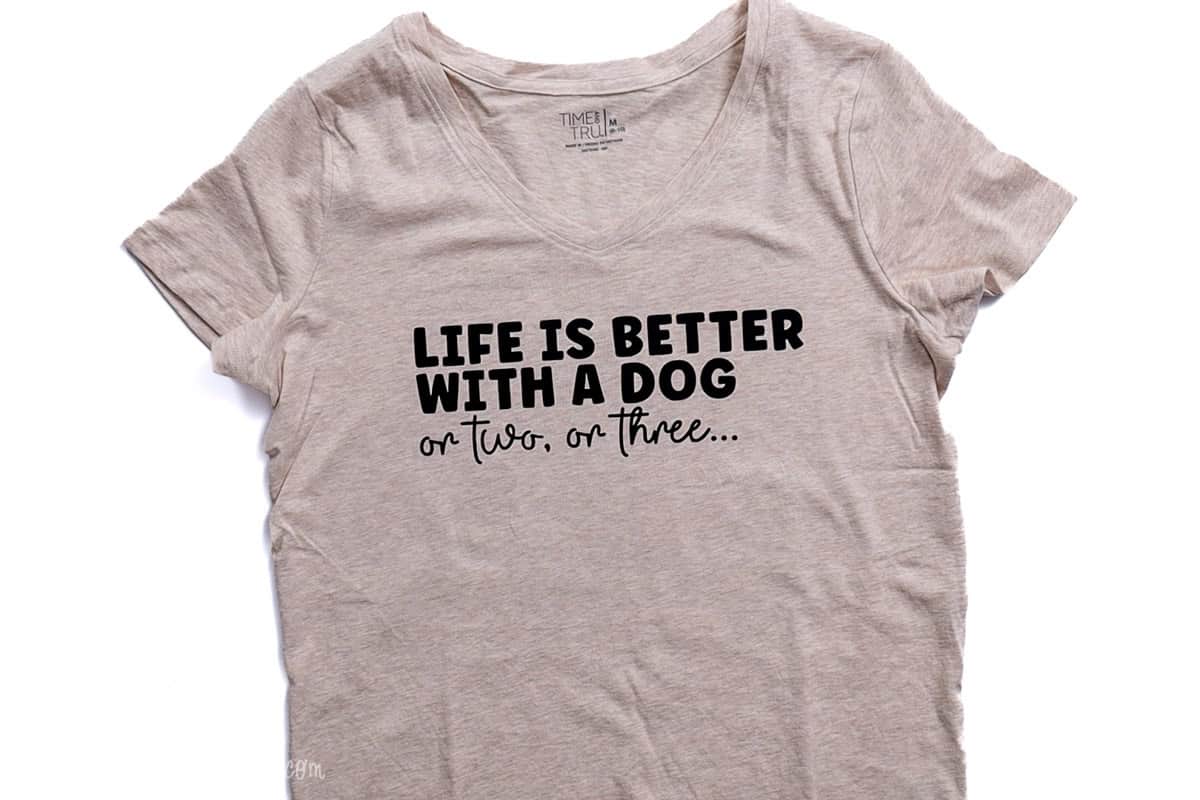
If your life is better with a dog (and we all know it is), this free SVG is for you! With this fun design, you can make shirts, mugs, and more.
Whether your pet is a cuddle buddy, walking partner, or professional floor crumb cleaner, our furry friends make every day a little brighter.
That's why I created this fun "Life is Better With a Dog" shirt design, and I'm sharing the free SVG so you can make your own!
Whether you add it to a t-shirt, tote bag, or coffee mug, it's a perfect way to show off your love for pups.
And if you're looking for more free pet-themed SVGs, keep scrolling. Even more free animal and pet designs are waiting for you at the bottom of this page!
If videos are your thing, you're in luck-I've got a full tutorial ready for you!
Subscribe to my YouTube channeland stay inspired with every new project.
This digital media is forpersonal use only.You do not have permission to redistribute.
First, measure the front of the shirt to decide how big the design should be.
I am placing the design on a medium-sized shirt and decided on a width of 10 inches.
For the following steps, I'll be using Cricut Design Space.
If you use Silhouette Studio or a different design software, your steps may be different than mine.
To start, upload the SVG into Cricut Design Space and add it to your Canvas.
The only change I need to make to this file is the size.
Above, I measured my shirt and decided on 10 inches wide.
On a device, the path is Edit, Width. Type the new width (10), keeping the ratio locked.
On a computer, change the width at the top of the screen to 10.
The design is now ready to be cut. Click Make.
The next screen is the Mat Preview.
I made sure to Mirror the design since I am using Iron-on.
Then, I can select my material, which is Everyday Iron-on.
I am not using Smart Materials, so I will cut my iron-on on a mat.
To cut the iron-on to size before loading my mat, I can measure my material using the mat with the protective sheet still on.
Simply roll out and cut with a pair of scissors.
Then remove the protective sheet and apply the iron-on, shiny side down onto the mat.
I love to weed iron-on because it is so easy.
Start in the corner and simply pull the material away from the transfer liner.
Don't forget the inside of the letters.
Ensure it is completely weeded by turning it over and reading the design. It looks great!
I am using my Cricut Autopress to apply the design.
To check temperature settings, I go to theCricut Heat Guide.
I enter the heat press I am using, the heat transfer material, and the base material.
It then gives me the temperature and time for the press application.
Place the shirt in the press for a quick 5-second press to remove any wrinkles.
Center the design on the front of the shirt and press according to the heat guide.
With these materials, I am instructed to do a cool peel. So I wait until the plastic backing sheet is cool to the touch and then carefully peel it back.
If any part of the design pulls up with the transfer liner, lay it back down and press for one more cycle.
I love my new shirt, and it completely fits my personality.
We have three dogs, and we had four a couple of months ago!BUTmy son moved out and took his dog with him.
It was crazy with four dogs running around, but I loved them all. ÄŸËâ?/p>
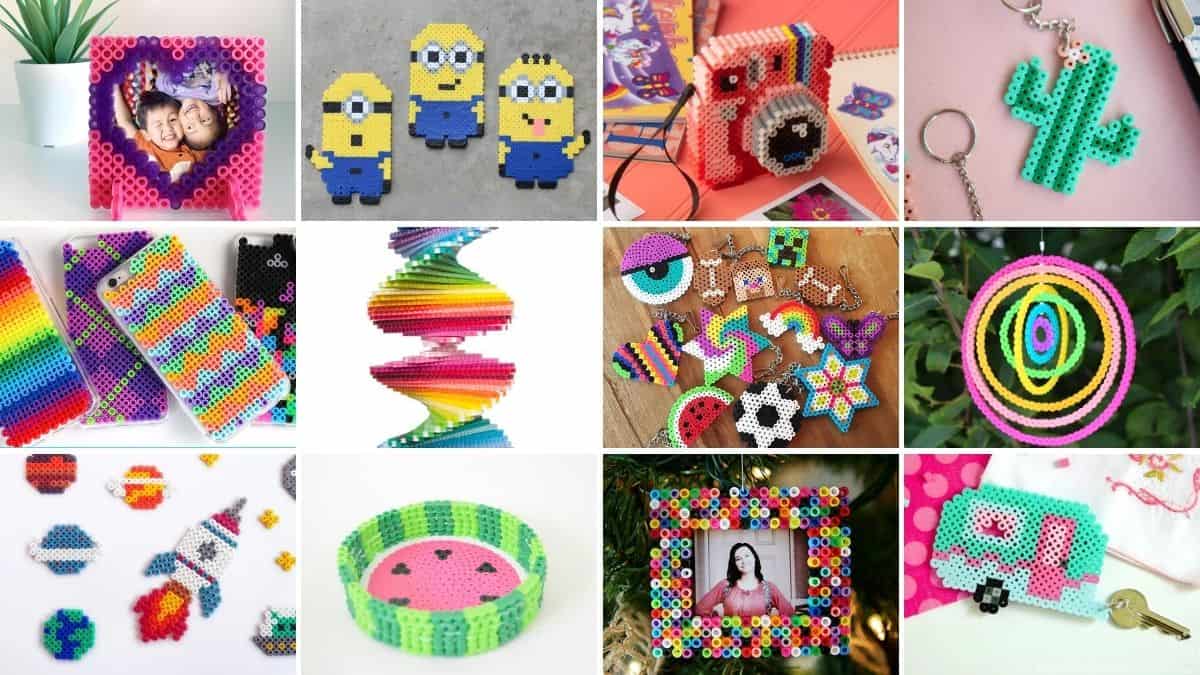
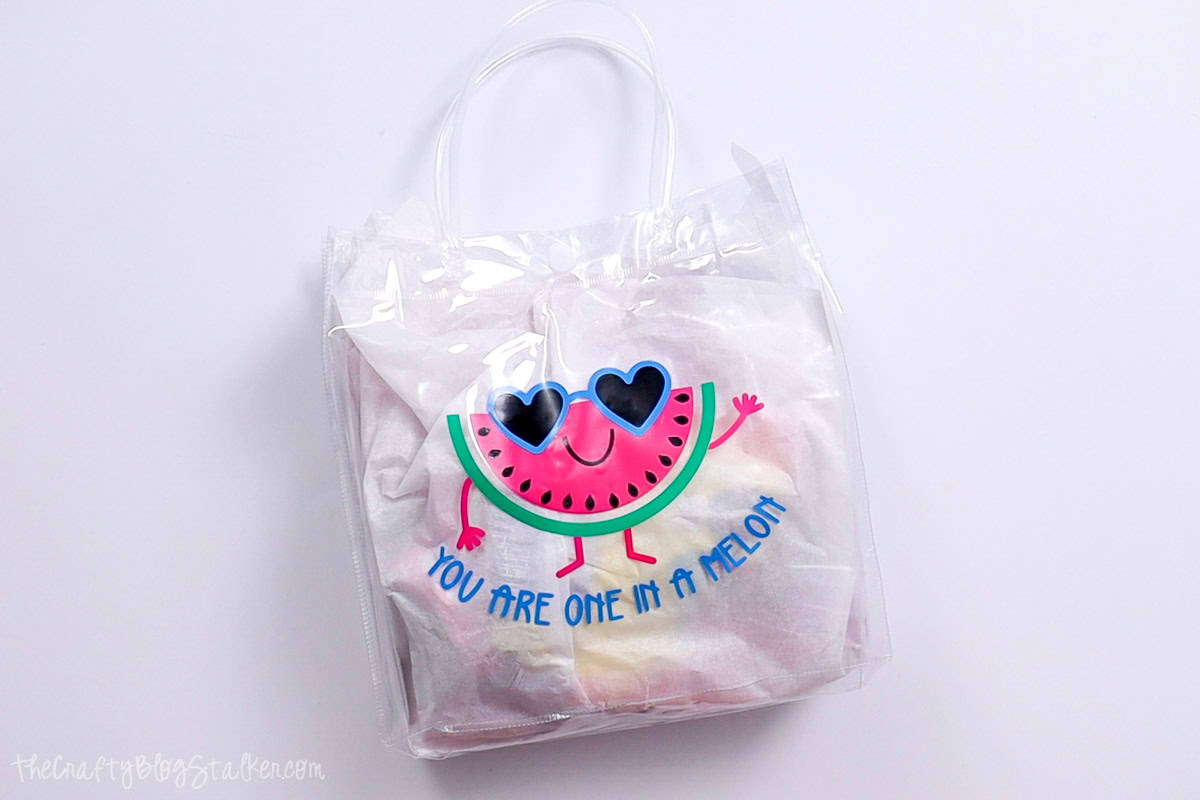
Can you make too many pet crafting projects? Absolutely not! Here are a few more fun design files.
Materials Needed
- Colored cardstock or patterned paper
- Craft scissors or paper cutter
- Double-sided tape or glue stick
- Ruler and pencil
- Decorative elements (ribbons, stickers, washi tape)
- Cutting mat
- Scoring tool or bone folder
- Embellishments (buttons, sequins, stamps)
Step-by-Step Instructions
Prepare Your Materials
Gather all the required materials and tools. Make sure you have everything listed in the materials section before starting.
Set Up Your Workspace
Find a clean, well-lit area to work. Cover your surface with newspaper or a craft mat to protect it.
Follow the Main Steps
Carefully follow the instructions step by step. Take your time and don't rush through any part of the process.
Add Personal Touches
Once you've completed the basic project, feel free to add your own creative touches and personalization.
Final Assembly
Put all the pieces together according to the instructions. Double-check that everything is secure and properly attached.
Pro Tips
💡 Tip: Take your time and enjoy the creative process
💡 Tip: Don't be afraid to experiment with different colors or materials
💡 Tip: If you make a mistake, don't worry - it's all part of learning
💡 Tip: Share your finished project with friends and family
💡 Tip: Take photos of your progress to document your crafting journey
You Might Also Like

References & Further Reading
Explore these trusted resources to deepen your crafting knowledge and find more inspiration for your next project.
- Do It Yourself — Wikipedia Overview of DIY culture, history, and common techniques across woodworking, home improvement, and crafting.
- Handicraft — Wikipedia Background on traditional handicrafts, materials, and the cultural significance of handmade goods.
- Instructables Community-driven DIY project library with step-by-step photos, videos, and printable instructions.
- Woodworking — Wikipedia Techniques, tools, joinery methods, and the history of working with wood as a craft.
- Sewing — Wikipedia History and modern practice of sewing, including stitches, equipment, and fabric choices.
- Bob Vila Trusted home improvement, tool reviews, and illustrated how-to guides from a household name.
- Papercraft — Wikipedia Art forms that use paper as the primary medium, from origami to paper-mache.
- Michaels — Project Ideas Project walkthroughs, material lists, and weekly craft ideas from a major arts & crafts retailer.