Vinyl Car Window Decals with Cricut
Project Overview
Get your car noticed with custom vinyl window decals made using your Cricut! Learn to upload images in Cricut Design Space and cut them with ease.
Have you seen those vinyl stickers or car decals that people put on the back window? They are fun and a great way to share your passion or personality.
It can be your family in stick figures, your favorite football team mascot, or my husband's true love, bass fishing.
My husband has been telling me that he wants his own car decal for the back window of his truck for a while, and I thought that I might as well teach you how to do it too!
Like videos? I have a video tutorial for you!Please subscribe to my YouTube Channelso you don't miss out on any future video tutorials!
Some supplies were gifted at no cost. When exact item are unavailable online, links may point to comparable products.
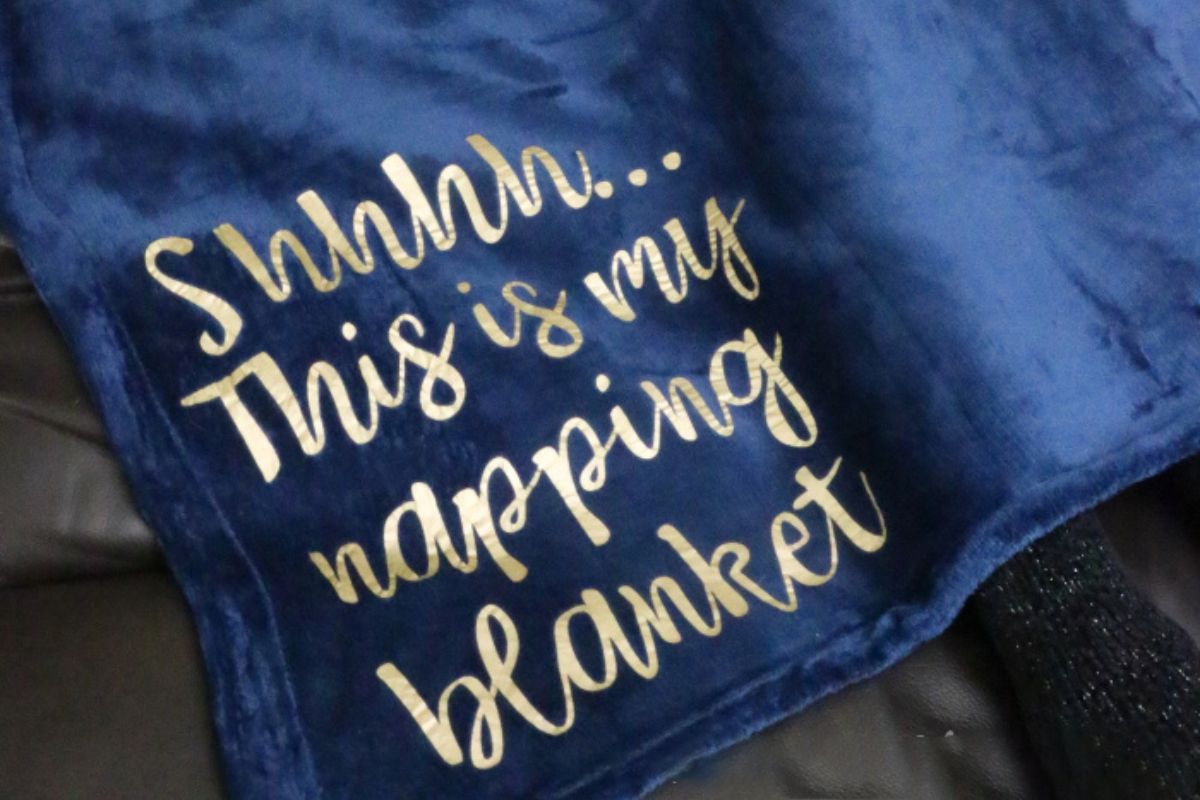
If a big-mouth bass isn't your thing, you can turn any cut image into a window decal using the Premium Outdoor Glossy Vinyl.
Pick a premade image from Cricut Design Space or I'll share how to upload and create a personalized car decal.
Find that perfect image by doing a Google search, or I found mine on Pinterest. There are millions to choose from but the simpler the image the better it transfers to a cut file.
*Images found online can only be used for personal use. Most images have copyright and you may be fined for selling copies of those designs.
Save the image to your computer or device by right-clicking on the image.
Images uploaded into Cricut Design Space must be high quality; otherwise, lines will be fuzzy and pixelated.
To upscale the image, go toimgupscaler.com.
This is a free image upscaling site.
Drag and drop the image saved and click start.
When the file is done, tap download to save it to the computer. The image is now a higher quality.
Open a new project and select the button on the bottom left sidebar, that says Upload.
Select Upload Image and drag and drop the upscaled image on the next page.
This next page is where I change the image into a cut file.
Change the Color Tolerance to 150, I think I get cleaner lines on this setting.
Make sure Select is highlighted and tap the white areas of the image.
When the white pieces are removed there is a checkered background in its place.
To check the design and make sure all of the white sections are cleared, toggle the Preview Single Layer switch.
This is what the cut will look like.
I can see that I missed the white in a couple of fins. Turn the switch off, remove those sections, and then toggle again.
The design looks correct, so I select Apply & Continue.
This screen asks what I want to do with the design. The single layer is a cut file, and a flat graphic is print and cut.
I am cutting so I highlight Single Layer and tap on Continue.
Name the new cut file, add tags to make it easier to find, and tap on Upload.
The design is now ready to be resized and cut.
Select the green button that says Make and follow the prompts to cut the image out of Cricut Premium Glossy Vinyl.
Carefully weed the design by removing the excess vinyl with a weeding tool.
Apply a piece of Transfer Tape on top of the cut vinyl. The Transfer tape will help you place the vinyl without letting any of the pieces stretch or move out of place.
Clean the area with glass cleaner where the sticker decal will be placed.
Then go over the area once again with rubbing alcohol to remove any dirt, debris, or excess grease.
Peel the backing paper off the adhesive vinyl, going slowly to ensure all parts of the vinyl are released from the sheet.
To apply the vinyl, start at one end or corner and lay the vinyl down in a rolling motion across the glass surface.
This will help ensure even placement and minimal air bubbles.
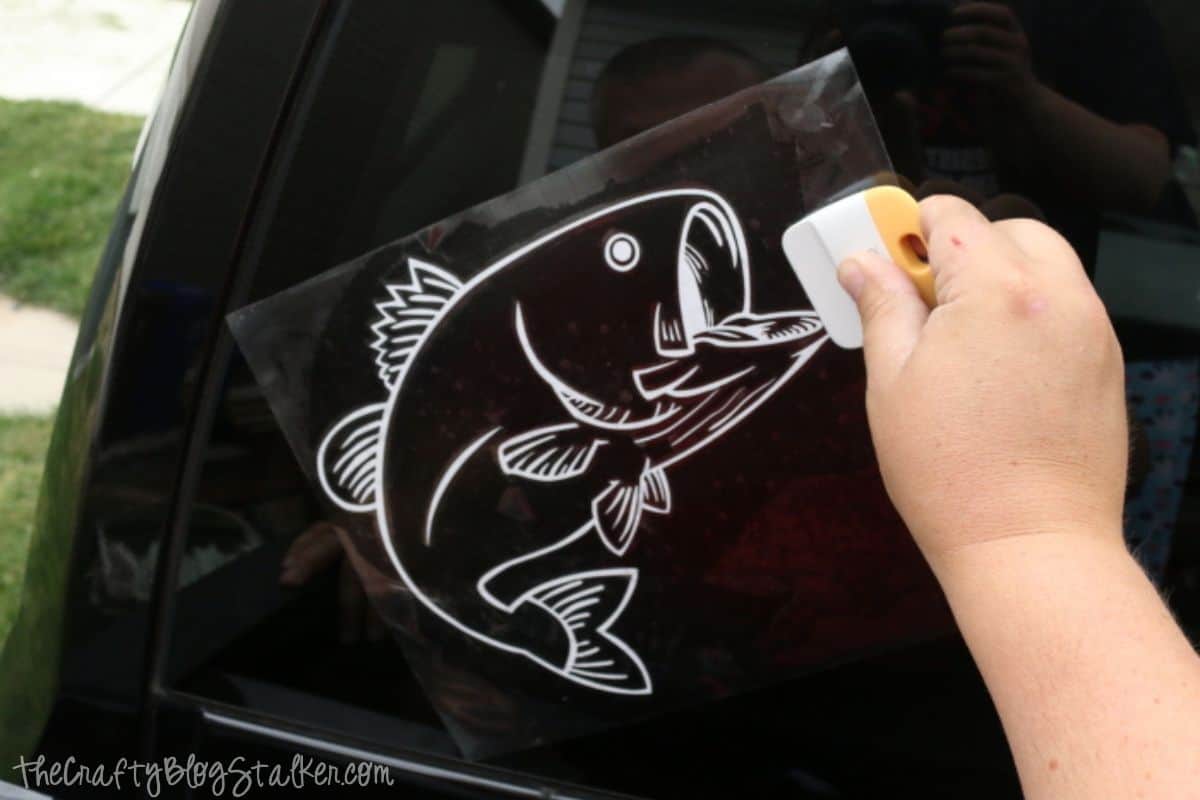
Go over the entire design with the Scraper Tool and push out any bubbles from underneath the vinyl car decal.
Peel back the Transfer Tape and the new decal has been applied.
Look at that happy face, he is so excited about his new car decal!
The best vinyl to use is Permanent Glossy Vinyl when applying decals to outside windows. This permanent adhesive vinyl is "more sticky" and is ideal for outdoor use.But don't worry, it can still be removed by peeling up the edges. If there is any residue, useGoo Goneis my favorite adhesive remover.If you want more temporary car stickers, the best option is Cricut Removable Vinyl. It will still work great, but may not last as long.
Yes, you can still wash permanent vinyl on glass, although it may last longer if you handwash instead of going through a carwash.
You can cut your own vinyl decals on any machine, whether you have a Cricut Maker, a Cricut Explore Air, or Cricut Joy, you can cut window decals but with the different machines, there are different size limits.
Materials Needed
- Colored cardstock or patterned paper
- Craft scissors or paper cutter
- Double-sided tape or glue stick
- Ruler and pencil
- Decorative elements (ribbons, stickers, washi tape)
- Cutting mat
- Scoring tool or bone folder
- Embellishments (buttons, sequins, stamps)
Step-by-Step Instructions
Prepare Your Materials
Gather all the required materials and tools. Make sure you have everything listed in the materials section before starting.
Set Up Your Workspace
Find a clean, well-lit area to work. Cover your surface with newspaper or a craft mat to protect it.
Follow the Main Steps
Carefully follow the instructions step by step. Take your time and don't rush through any part of the process.
Add Personal Touches
Once you've completed the basic project, feel free to add your own creative touches and personalization.
Final Assembly
Put all the pieces together according to the instructions. Double-check that everything is secure and properly attached.
Pro Tips
💡 Tip: Take your time and enjoy the creative process
💡 Tip: Don't be afraid to experiment with different colors or materials
💡 Tip: If you make a mistake, don't worry - it's all part of learning
💡 Tip: Share your finished project with friends and family
💡 Tip: Take photos of your progress to document your crafting journey
You Might Also Like

References & Further Reading
Explore these trusted resources to deepen your crafting knowledge and find more inspiration for your next project.
- Do It Yourself — Wikipedia Overview of DIY culture, history, and common techniques across woodworking, home improvement, and crafting.
- Handicraft — Wikipedia Background on traditional handicrafts, materials, and the cultural significance of handmade goods.
- Instructables Community-driven DIY project library with step-by-step photos, videos, and printable instructions.
- Woodworking — Wikipedia Techniques, tools, joinery methods, and the history of working with wood as a craft.
- Sewing — Wikipedia History and modern practice of sewing, including stitches, equipment, and fabric choices.
- Bob Vila Trusted home improvement, tool reviews, and illustrated how-to guides from a household name.
- Papercraft — Wikipedia Art forms that use paper as the primary medium, from origami to paper-mache.
- Michaels — Project Ideas Project walkthroughs, material lists, and weekly craft ideas from a major arts & crafts retailer.