How to Replace the Cricut Pen Holder
Project Overview
This easy tutorial will teach you how to replace your Cricut pen holder. Keep your machine running smoothly and your projects looking flawless.
If your Cricut pen holder isn't working as well as it used to, don't worry-you didn't break your machine.
Over time, wear and tear (or an accidental tug) can make the pen holder loose or break.
The good news is replacing it is easier than you might think!
Let's fix it up and get that machine running like new again!
If videos are your thing, you're in luck-I've got a full tutorial ready for you!
Subscribe to my YouTube channeland stay inspired with every new project.
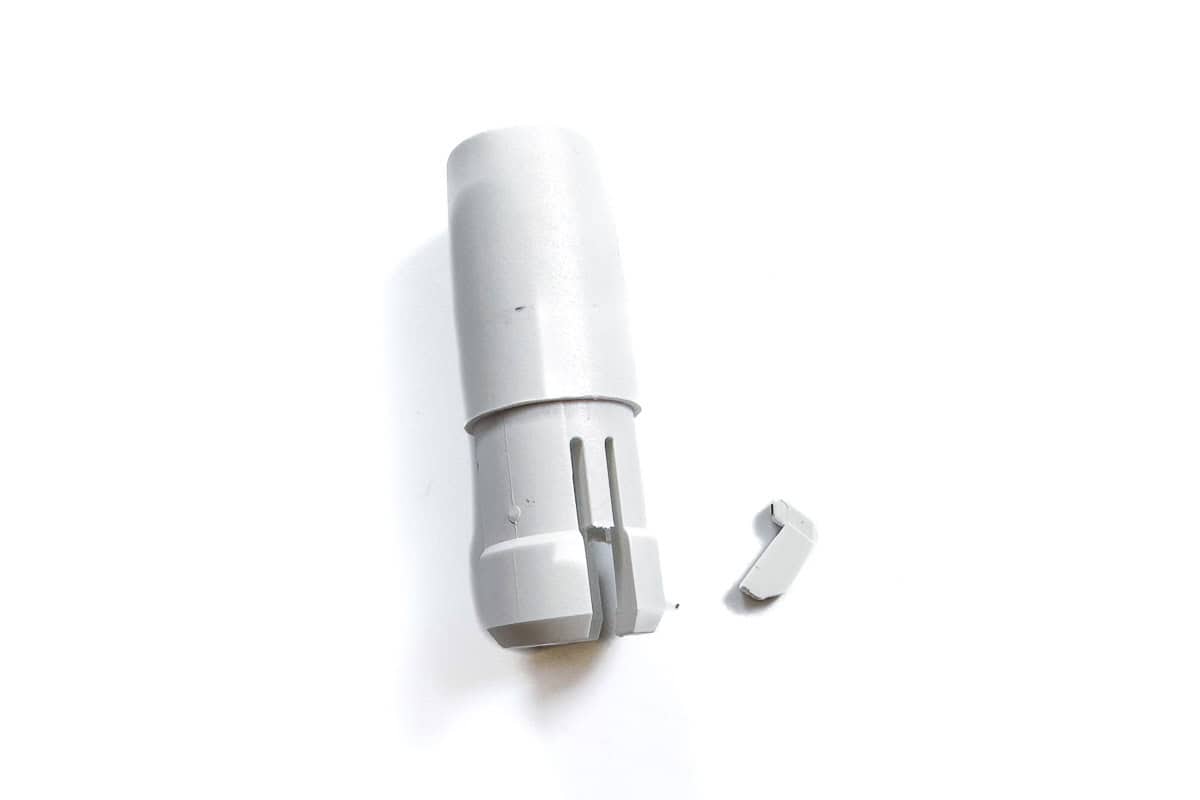
Recently, I was crafting with my Cricut Maker, and this little plastic piece broke off and fell onto the floor of my machine.
Then I noticed that my marker wasn't held securely in clamp A. Did I break my machine?
After some panic and quick googling, I realized the pen holder had broken, but there was an easy fix!
There are a couple of places to purchase the replacement pen holder.
You can purchase theCricut Accessory Adapter Replacementfrom Cricut.com for $1.99.
This is a great price, but you must pay shipping unless your order exceeds $50.
I purchased theCricut Accessory Adapter Replacementfrom Amazon.com. It costs $10, but I received free shipping because I haveAmazon Prime.
This piece works for both the Cricut Maker and Cricut Explore machines, and the replacement instructions are also the same.
Open your Cricut cutting machine, move the housing to the machine's center, and open Clamp A.
To remove the pen holder from the clamp, push up on it. It is tight, so you will need to push hard.
Once you have pushed it free, lift the piece out of the clamp.
Grab the replacement piece and push it down into clamp A. Push hard because it is a tight fit.
That is all there is to it!
Now, when I insert a pen and close the clamp, it holds!
I was even able to make a cute card!
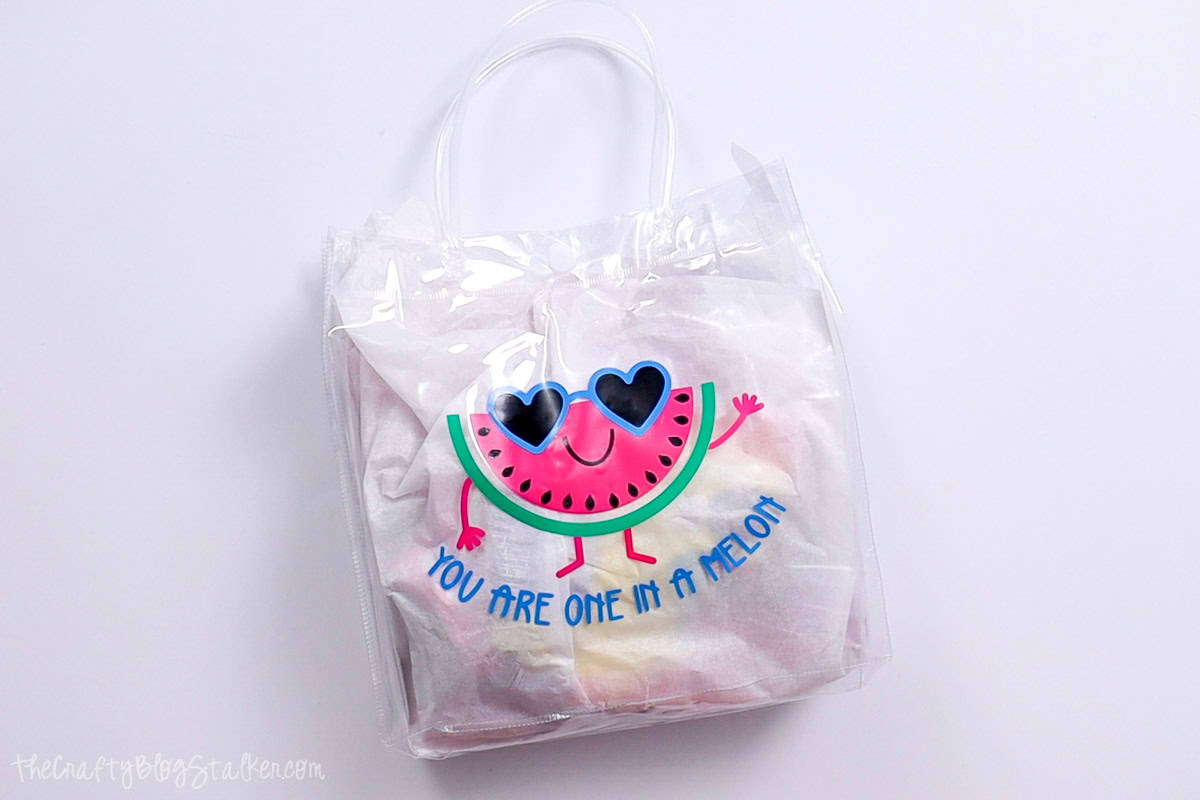
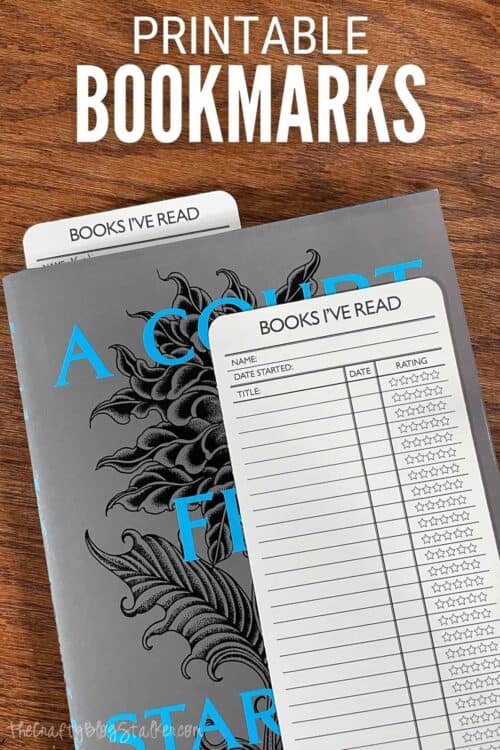
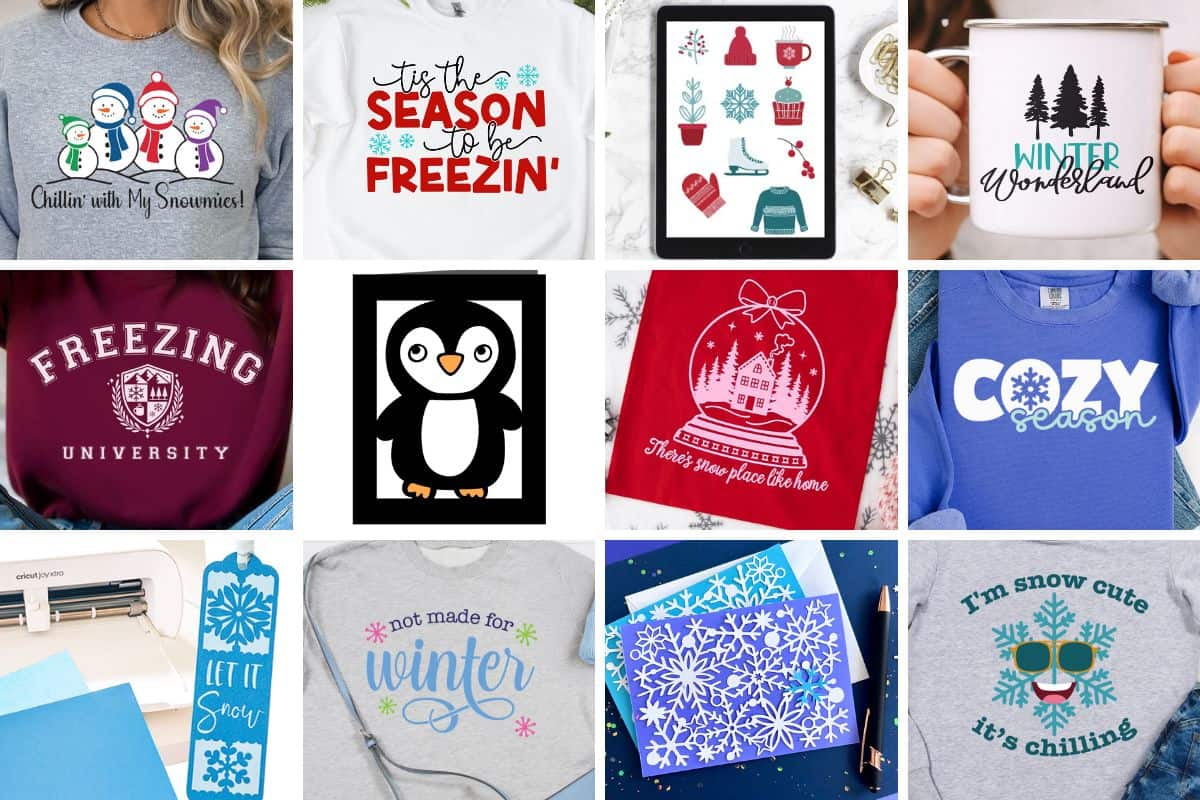
Now that you can use Clamp A again, you can create so many fun things!
Here are a few fun ideas.
Materials Needed
- Colored cardstock or patterned paper
- Craft scissors or paper cutter
- Double-sided tape or glue stick
- Ruler and pencil
- Decorative elements (ribbons, stickers, washi tape)
- Cutting mat
- Scoring tool or bone folder
- Embellishments (buttons, sequins, stamps)
Step-by-Step Instructions
Prepare Your Materials
Gather all the required materials and tools. Make sure you have everything listed in the materials section before starting.
Set Up Your Workspace
Find a clean, well-lit area to work. Cover your surface with newspaper or a craft mat to protect it.
Follow the Main Steps
Carefully follow the instructions step by step. Take your time and don't rush through any part of the process.
Add Personal Touches
Once you've completed the basic project, feel free to add your own creative touches and personalization.
Final Assembly
Put all the pieces together according to the instructions. Double-check that everything is secure and properly attached.
Pro Tips
💡 Tip: Take your time and enjoy the creative process
💡 Tip: Don't be afraid to experiment with different colors or materials
💡 Tip: If you make a mistake, don't worry - it's all part of learning
💡 Tip: Share your finished project with friends and family
💡 Tip: Take photos of your progress to document your crafting journey
You Might Also Like
References & Further Reading
Explore these trusted resources to deepen your crafting knowledge and find more inspiration for your next project.
- Do It Yourself — Wikipedia Overview of DIY culture, history, and common techniques across woodworking, home improvement, and crafting.
- Handicraft — Wikipedia Background on traditional handicrafts, materials, and the cultural significance of handmade goods.
- Instructables Community-driven DIY project library with step-by-step photos, videos, and printable instructions.
- Woodworking — Wikipedia Techniques, tools, joinery methods, and the history of working with wood as a craft.
- Sewing — Wikipedia History and modern practice of sewing, including stitches, equipment, and fabric choices.
- Bob Vila Trusted home improvement, tool reviews, and illustrated how-to guides from a household name.
- Papercraft — Wikipedia Art forms that use paper as the primary medium, from origami to paper-mache.
- Michaels — Project Ideas Project walkthroughs, material lists, and weekly craft ideas from a major arts & crafts retailer.