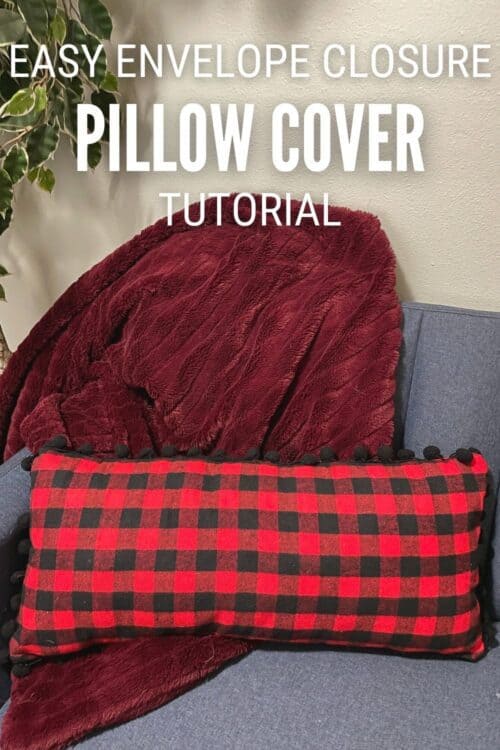
How to Make a Pillow Cover with Envelope Closure
Project Overview
Learn how to sew a simple envelope pillow cover with this step-by-step tutorial. An envelope closure is the easiest way to sew a pillow cover.
It has been a hot minute since I have shared a sewing tutorial with you.
My daughter has been sewing a lot lately and that has gotten me in the mood too!
The easiest way to sew a pillow cover is with an envelope enclosure on that back. That means no zippers. YAY!
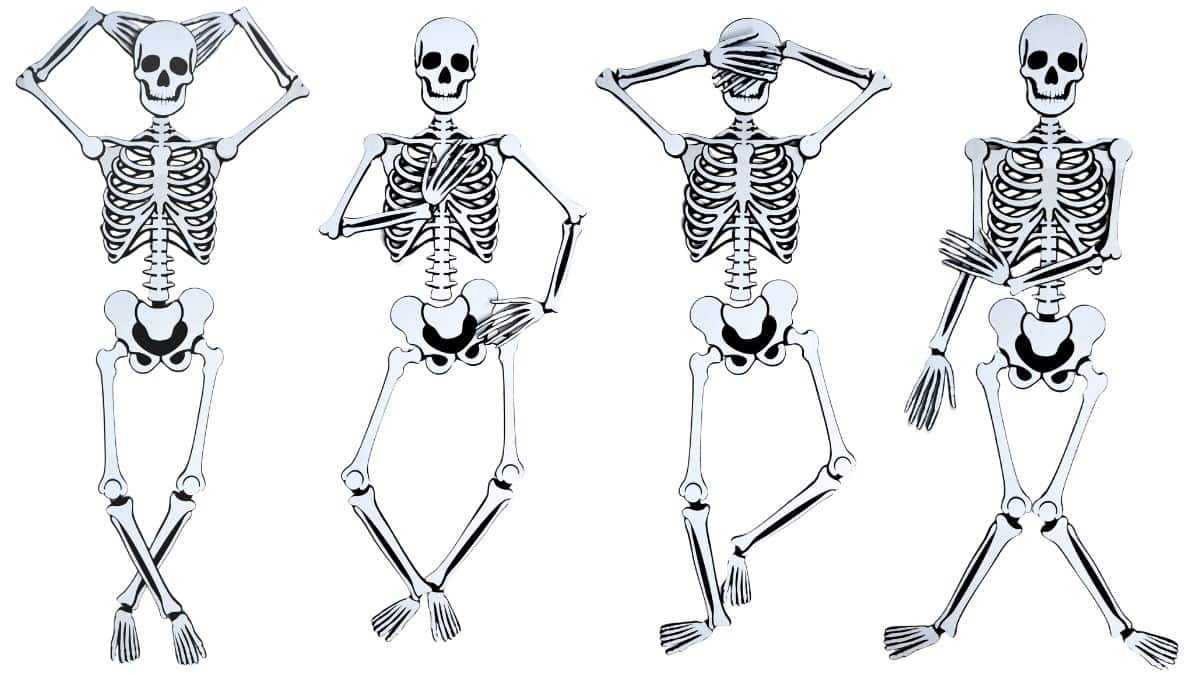
An envelope-style pillow cover has 1 cover panel and 2 back panels that overlap a bit.
Those back panels allow you to insert the pillow and then close the flaps to hold the pillow inside.
I created a little graphic that I hope will help.
This post contains affiliate links.
If you are new to sewing, there are so many choices when purchasing your first sewing machine.
I have always been partial to Singer, I think because my mom was too.
I learned how to sew on a Singer and now I sew on a Singer.
The machine I use is called theSewing Fashion Mate.
The first machine purchased was a singer but was much more simple, with not very many features or stitches.
Quickly I upgraded to the Fashion Mate because it has lots of features that make sewing more enjoyable, and it is under $200.
So if this is your first sewing machine, or if you're looking to upgrade from your basic sewing machine, I completely recommend the Singer Fashion Mate.
You can purchase it in most places that sell sewing machines, but here are links toAmazonandMichaelsto make it easier for you to find.
Pillow covers are so fun to make because you can use any type of fabric you want!
Now some fabrics can be more difficult than others like satin and silk because they are slippery fabrics, or denim and leather because they are so thick.
For a new sew I would recommend flannel, cotton, fleece, linen, and most poly-cotton blends.
My Pillow cover is going to be sewn using a flannel fabric.
If you are not using the same pillow size as me you will need to adjust your measurements a bit. You may also need a different amount of fabric, so keep that in mind.
You also want your pillow cover to be about 1-2 inches smaller than the actual pillow. This will make the pillow and cover much more full.
How I did my Math.
My pillow is 14 x 28. The front of my pillow cover will be 13 x 27, but the two back pieces to make the envelope slot each need to be 13 x 17 inches because we want those back flaps to overlap a bit.
The Width of my fabric is 43 inches if laid out completely flat so there is only a single layer of fabric.
According to the picture below, you can see the longest piece is 27 inches. I always like to give myself a couple extra inches, so I rounded up to 30 inches and that is about ¾ yard.
The Fabric width is 43 inches, and I will be cutting 3 panels that are 13 inches wide. 13 x 3 = 39, so all of my panels can fit on the ¾ yard of fabric.
If you are doing a different size, feel free to sketch yours out on paper first to make sure you get the right amount of fabric.
For the trim, I added all of the edges of the front panel.
13 + 27 + 13 + 27 = 80
To give me a little extra, I asked for 2 â ?yards of pom-pom trim.
When cutting squares like this, I like to use a cutting mat and quilting ruler. It aids in making sure that all of the pieces are perfectly square and I don't get sloping edges.
If you don't a quilting ruler you may want to create pattern pieces, pin, and then cut the fabric so you make sure to cut the right size pieces.
The edge of the flannel fabric length can get kind of stringy, so the first thing is to cut that off. If your edges aren't stringy you can skip this part.
Fold the fabric in half length-wise so you still have the width of 43 inches, but your length will now be 15.
You can fold the fabric in half width-wise if it won't all fit on your cutting mat.
Line up the fabric on the corner of your cutting mat. You'll want the width to be straight along the bottom, and the length to be straightalong the left-hand side.
Line up the quilting ruler on the 13-inch line. Make sure all of your fabric is straight on the inch lines and cut the fabric using your rotary cutter.
Unfold the piece you just cut, and now you are going to line that piece up on the cutting mat and this time cut at the 27-inch mark.
Repeat for the back two panel pieces.
When finished cutting you'll have three pieces. 2 pieces that are 13x15, and 1 piece that is 13 x 27.
To start, there are only two edges that we need to pin.
The two edges of the overlapping panels.
Pin the 13-inch width of each of the panel pieces ½-in in for your seam allowance, and pin it into place.
We are going to be sewing a ¼-inch hem.
Line up the fabric on the ¼-in guide on your sewing machine and a straight line the width of the 13-inch pane.
Repeat for the second Panel.
This step is not completely necessary but It does look more professional.
Fold the hem over 2 inches onto the piece of fabric and pin it in place on both back panel pieces.
Stitch along the original hemline.
Now you have a nice finished edge for your back panel pieces.
Repeat for the second panel.
We are going to sew the pillow inside out.
Start with the two back flaps, overlap them about 2-3 inches, and then pin them into place.
Lay the front panel right side facing up on your table.
Pin the pom-pom trim around the edge of the pillow, making sure the ball of the pin is on the outside of the panel.
Place the back panel section right side facing down over the front panel and line the pieces up.
Go back to your sewing machine and stitch the pieces together the ¼ inch line on the sewing machine.
Go slow, and as you move along make sure everything is lined up correctly before it is stitched.
Once you have stitched all the way around the pillow cover, remove all of the pins.
Turn the cover inside out, and stuff your pillow into the cover using the envelope back you created.
You will notice that now all your pom-poms will be trimming your pillow.
Now all that is left is to cozy up with your new pillow and a nice blanket.
Fairfield sponsored 18 craft tutorial websites to create 18 different pillow covers!
They are all so fun!
Materials Needed
- Colored cardstock or patterned paper
- Craft scissors or paper cutter
- Double-sided tape or glue stick
- Ruler and pencil
- Decorative elements (ribbons, stickers, washi tape)
- Cutting mat
- Scoring tool or bone folder
- Embellishments (buttons, sequins, stamps)
Step-by-Step Instructions
Prepare Your Materials
Gather all the required materials and tools. Make sure you have everything listed in the materials section before starting.
Set Up Your Workspace
Find a clean, well-lit area to work. Cover your surface with newspaper or a craft mat to protect it.
Follow the Main Steps
Carefully follow the instructions step by step. Take your time and don't rush through any part of the process.
Add Personal Touches
Once you've completed the basic project, feel free to add your own creative touches and personalization.
Final Assembly
Put all the pieces together according to the instructions. Double-check that everything is secure and properly attached.
Pro Tips
💡 Tip: Take your time and enjoy the creative process
💡 Tip: Don't be afraid to experiment with different colors or materials
💡 Tip: If you make a mistake, don't worry - it's all part of learning
💡 Tip: Share your finished project with friends and family
💡 Tip: Take photos of your progress to document your crafting journey
You Might Also Like
References & Further Reading
Explore these trusted resources to deepen your crafting knowledge and find more inspiration for your next project.
- Do It Yourself — Wikipedia Overview of DIY culture, history, and common techniques across woodworking, home improvement, and crafting.
- Handicraft — Wikipedia Background on traditional handicrafts, materials, and the cultural significance of handmade goods.
- Instructables Community-driven DIY project library with step-by-step photos, videos, and printable instructions.
- Woodworking — Wikipedia Techniques, tools, joinery methods, and the history of working with wood as a craft.
- Sewing — Wikipedia History and modern practice of sewing, including stitches, equipment, and fabric choices.
- Bob Vila Trusted home improvement, tool reviews, and illustrated how-to guides from a household name.
- Papercraft — Wikipedia Art forms that use paper as the primary medium, from origami to paper-mache.
- Michaels — Project Ideas Project walkthroughs, material lists, and weekly craft ideas from a major arts & crafts retailer.