How to Make a Lemon Meringue Pie Recipe
Project Overview
This is the best Lemon Meringue Pie Recipe ever, and it is so easy to bake! Below is the full recipe and step-by-step tutorial.
Lemon Meringue Pie is my love! In fact, on many occasions, hubby has brought me home a pie over flowers because he knows I will enjoy that so much more!
Yup, he loves me!
Growing up, my favorite pie was always lemon meringue, and my mom made it the best!
Now it's my turn to make the best Lemon Meringue Pie ever, and I use the same recipe my mom always used. It's actually on the side of the Lemon Jello Box, so it is no secret.
I have tried "from scratch" lemon pie recipes, which aren't as good and require more effort.
Like videos? I have a video tutorial for you!Please subscribe to my YouTube Channelso you don't miss out on any future video tutorials!
Begin by baking the pie crust according to package directions.
Combine all of the ingredients in a pot on the stove. Stir until a full boil.
After it boils, let it cool for 5 minutes before you pour the pudding into a cooled baked pie crust.
I break the rules and use store-bought frozen pie crusts. It is so easy and still tastes AMAZING!
Beat 3 egg whites in a large bowl with a mixer on high speed until foamy. Gradually beat in ââ¦â?cup sugar until stiff peaks form.
The meringue is the best part of the pie if you ask me!
Simply plop it on the top of the pie. If you can make loopy peaks it makes the pie look even better.
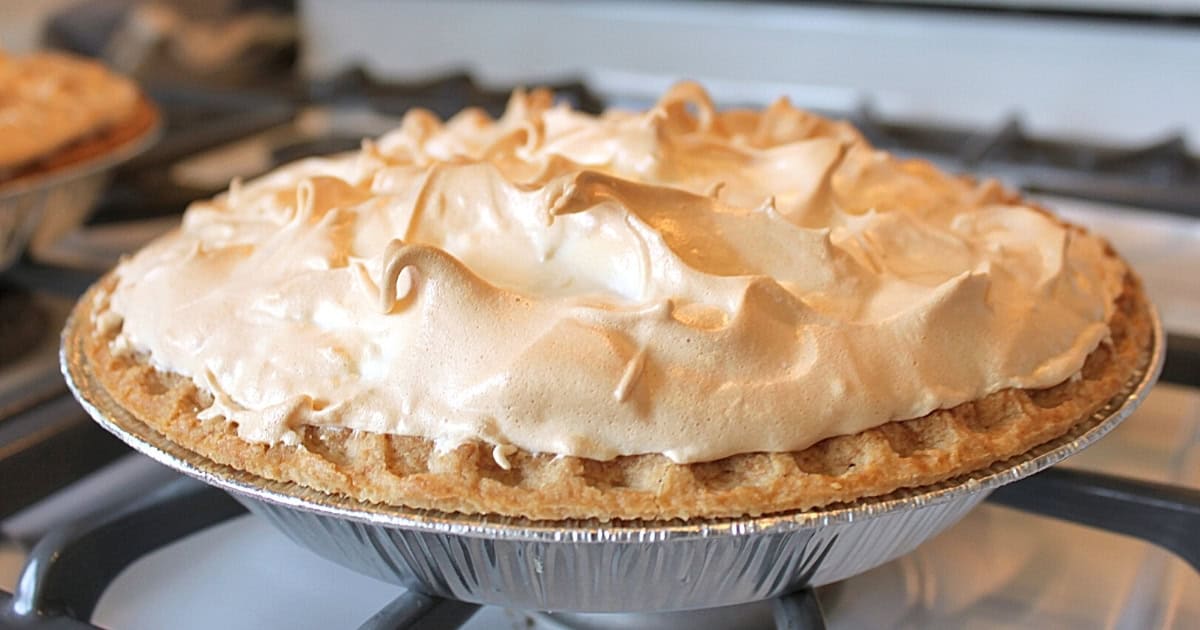
Bake at 350 for 10 to 15 minutes to brown the meringue.
When it comes out of the oven it is all golden and I just want to eat it! But, it must cool before you cut into it or it will just be a gooey mess.
The next picture was supposed to be a beautiful slice of pie. But I was so anxious to have a slice that I completely forgot to take a picture of that. OOPS! But let me tell you, it wasAMAZING!
What is your favorite flavor of pie? Share and leave a comment below!
Materials Needed
- Fresh ingredients (vegetables, meats, herbs)
- Cooking oil or butter
- Salt and pepper
- Mixing bowls
- Cutting board and knife
- Measuring cups and spoons
- Cooking utensils (spatula, wooden spoon)
- Baking sheet or cooking pan
Step-by-Step Instructions
Prepare Your Materials
Gather all the required materials and tools. Make sure you have everything listed in the materials section before starting.
Set Up Your Workspace
Find a clean, well-lit area to work. Cover your surface with newspaper or a craft mat to protect it.
Follow the Main Steps
Carefully follow the instructions step by step. Take your time and don't rush through any part of the process.
Add Personal Touches
Once you've completed the basic project, feel free to add your own creative touches and personalization.
Final Assembly
Put all the pieces together according to the instructions. Double-check that everything is secure and properly attached.
Pro Tips
💡 Tip: Take your time and enjoy the creative process
💡 Tip: Don't be afraid to experiment with different colors or materials
💡 Tip: If you make a mistake, don't worry - it's all part of learning
💡 Tip: Share your finished project with friends and family
💡 Tip: Take photos of your progress to document your crafting journey
You Might Also Like
References & Further Reading
Explore these trusted resources to deepen your crafting knowledge and find more inspiration for your next project.
- Do It Yourself — Wikipedia Overview of DIY culture, history, and common techniques across woodworking, home improvement, and crafting.
- Handicraft — Wikipedia Background on traditional handicrafts, materials, and the cultural significance of handmade goods.
- Instructables Community-driven DIY project library with step-by-step photos, videos, and printable instructions.
- Woodworking — Wikipedia Techniques, tools, joinery methods, and the history of working with wood as a craft.
- Sewing — Wikipedia History and modern practice of sewing, including stitches, equipment, and fabric choices.
- Bob Vila Trusted home improvement, tool reviews, and illustrated how-to guides from a household name.
- Papercraft — Wikipedia Art forms that use paper as the primary medium, from origami to paper-mache.
- Michaels — Project Ideas Project walkthroughs, material lists, and weekly craft ideas from a major arts & crafts retailer.