Boo Basket for Friends and Neighbors
Project Overview
Spread Halloween cheer with a Boo Basket for friends and neighbors! Filled with treats and drinks, it's a spooktacular way to celebrate.
Halloween is creeping up on us, and I've got the perfect way to share some festive fun-Boo Baskets!
And guess what? You don't even need a storage basket; a simple paper gift bag works wonders too!
So, whether you're using a traditional basket or a cute gift bag, I've covered you with a step-by-step guide to fill it with all kinds of Halloween goodies.
Ready to sprinkle a little magic around your neighborhood? Let's get started!
If you don't have circle punches you can also cut circles out by hand with a pair of scissors.
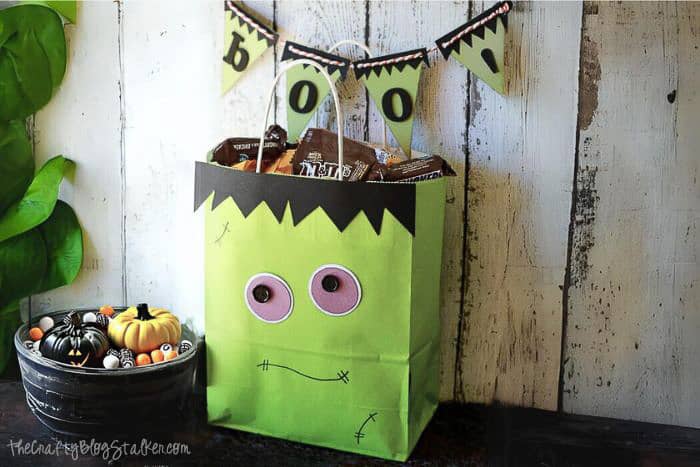
Cut out a black strip of paper that is about 1.75 inches wide and as long as the width if the bag.
On this strip, freehand cut some triangle cut-outs along the bottom to create Frankenstein's hair.
Adhere to the bag.
For the eyes, cut out two white circles (2 inches diameter) and two purple circles (1 ¾ inches diameter).
I inked the edges with black ink and then adhered them to the bag.
To make the neck bolts, cut out a 2-inch black circle, cut it in half, and glue each half to a side of the bag.
Adhere black buttons to the eyes.
Then with a black marker, draw on the mouth along with a few stitches.
I just LOVE how it looks!
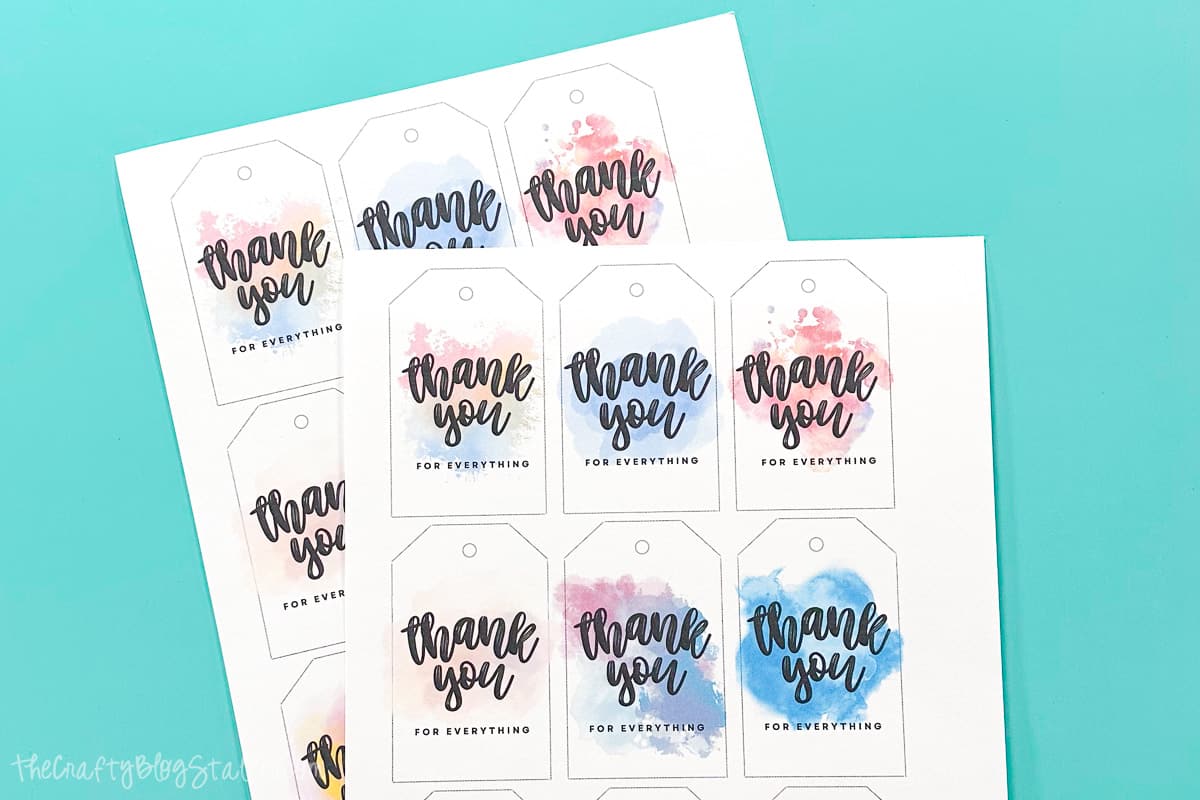
For the letters, I used some extra stickers I already had. You could use rub-ons, vinyl, or you could handwrite the letters.
Cut 4 green rectangles that measure 4x3 inches and 4 black strips of paper that measure ¾ x 3 inches.
Then just like with the hair on the Frankenstein bag, cut triangles into the black strips.
Lightly mark the midpoint on each of the green rectangles.
With scissors, cut from the corner to the point marked and repeat on the other side so you are left with a triangle pennant banner piece.
Adhere the black strips onto the banner and add your letters to spell out Boo!
Punch a hole in each corner then run your string through the banner - see how cute and easy that was to make?
Put it all together and you have a fun BOO Bag that your neighbors are sure to love!
The boo basket I am giving my neighbor has a movie and snacks theme. I will fill it with treats, soda, cute cups, straws, a Halloween movie, and popcorn!
I placed the soda cans in the bottom of the bag, followed by the Boo Banner, cups, popcorn, and the dvd.
Then topped it off with a bag full of Halloween candy!
Everything turned out so cute! This Halloween basket has a little something for both the adults and the kids.
I had so much fun making this that BOO-ing my neighbors is going to become a fun Halloween tradition.
There is no exact when it comes to the trend of Boo Baskets. Simply think of what the recipients might like, with a theme of Halloween.
It doesn't need to be expensive either. Try shopping at Dollar Tree or the Target Dollar Spot for inexpensive options.
Dollar Store Halloween toys are a great option instead of candy bags if you are worried about food allergies.
Materials Needed
- Fresh ingredients (vegetables, meats, herbs)
- Cooking oil or butter
- Salt and pepper
- Mixing bowls
- Cutting board and knife
- Measuring cups and spoons
- Cooking utensils (spatula, wooden spoon)
- Baking sheet or cooking pan
Step-by-Step Instructions
Prepare Your Materials
Gather all the required materials and tools. Make sure you have everything listed in the materials section before starting.
Set Up Your Workspace
Find a clean, well-lit area to work. Cover your surface with newspaper or a craft mat to protect it.
Follow the Main Steps
Carefully follow the instructions step by step. Take your time and don't rush through any part of the process.
Add Personal Touches
Once you've completed the basic project, feel free to add your own creative touches and personalization.
Final Assembly
Put all the pieces together according to the instructions. Double-check that everything is secure and properly attached.
Pro Tips
💡 Tip: Take your time and enjoy the creative process
💡 Tip: Don't be afraid to experiment with different colors or materials
💡 Tip: If you make a mistake, don't worry - it's all part of learning
💡 Tip: Share your finished project with friends and family
💡 Tip: Take photos of your progress to document your crafting journey
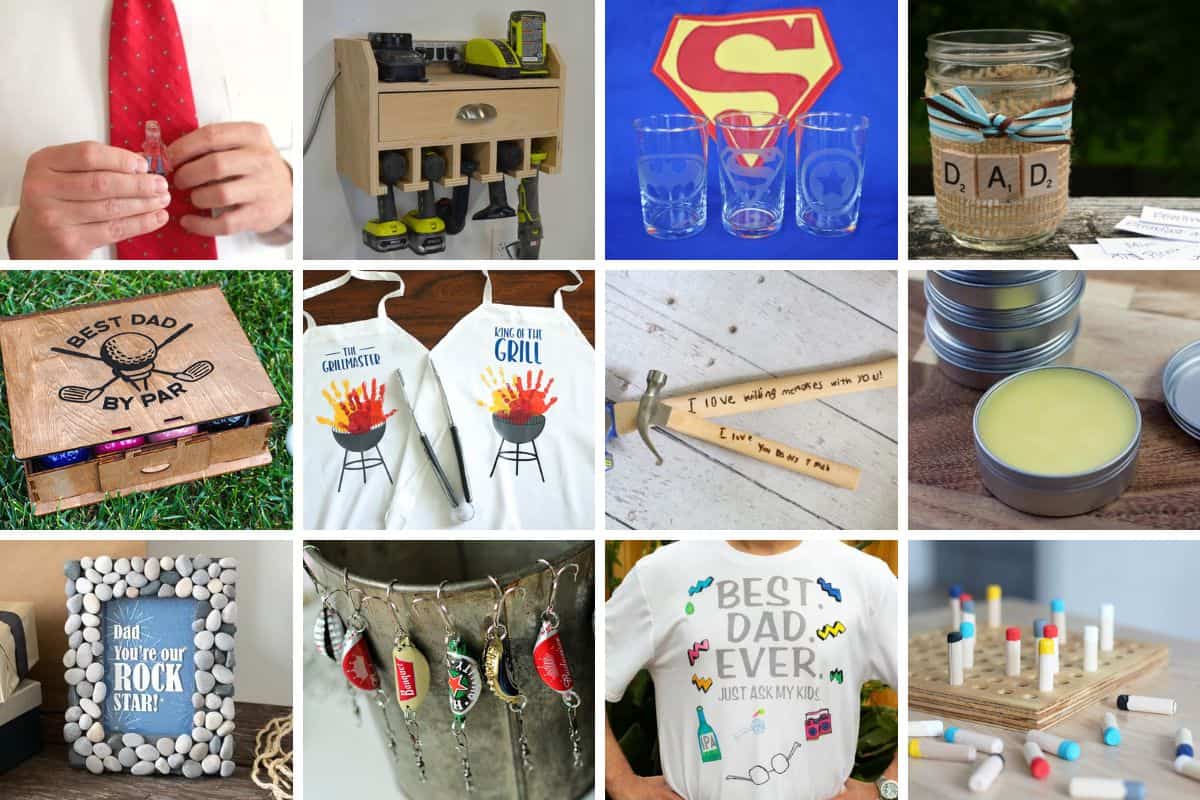
You Might Also Like
References & Further Reading
Explore these trusted resources to deepen your crafting knowledge and find more inspiration for your next project.
- Do It Yourself — Wikipedia Overview of DIY culture, history, and common techniques across woodworking, home improvement, and crafting.
- Handicraft — Wikipedia Background on traditional handicrafts, materials, and the cultural significance of handmade goods.
- Instructables Community-driven DIY project library with step-by-step photos, videos, and printable instructions.
- Woodworking — Wikipedia Techniques, tools, joinery methods, and the history of working with wood as a craft.
- Sewing — Wikipedia History and modern practice of sewing, including stitches, equipment, and fabric choices.
- Bob Vila Trusted home improvement, tool reviews, and illustrated how-to guides from a household name.
- Papercraft — Wikipedia Art forms that use paper as the primary medium, from origami to paper-mache.
- Michaels — Project Ideas Project walkthroughs, material lists, and weekly craft ideas from a major arts & crafts retailer.