How to Give Money as a Wedding Gift in a Money Jar
Project Overview
Give the perfect wedding gift with a Money Jar! Learn how to create a personalized money jar for the happy couple in this DIY tutorial.
Weddings are joyous occasions filled with love and celebration.
If you're searching for a unique and meaningful gift idea, look no further than a Money Jar. It makes a great cash gift!
In this tutorial, I'll show you how to create a fun money jar that not only holds a special surprise but also adds a touch of personalization to your gift.
Let's dive in and discover how to give money memorably and creatively!
For this project, I used my Cricut Explore but this file can be cut with any Cricut Cutting Machine.
InCricut Design Spaceyou can create your own design or you are welcome to use mine.
Follow the prompts in Cricut Design Space and select "Make It" to send the images to the Cricut machine to cut.
After the design is cut, remove the vinyl from the cutting mat and begin weeding and removing the negative of the design we don't need.
The easiest way to apply the design to the glass jar is to use transfer tape. Transfer tape is a carrier sheet for the vinyl sticker so it doesn't get stretched while moving it to the project.
Remove the paper backing of the transfer tape and lay it over the top of the vinyl stencil.
Using a scraper tool, rub over the entire design to make sure the transfer tape is stuck nicely to the vinyl.
Carefully peel up the vinyl stencil with the transfer tape, removing it from the vinyl backing sheet.
I prefer to eyeball the placement on my project, but if you would like you can measure and mark with a pencil to get the perfect placement.
Then peel the transfer tape away from the project, leaving the vinyl design stuck to the glass jar.
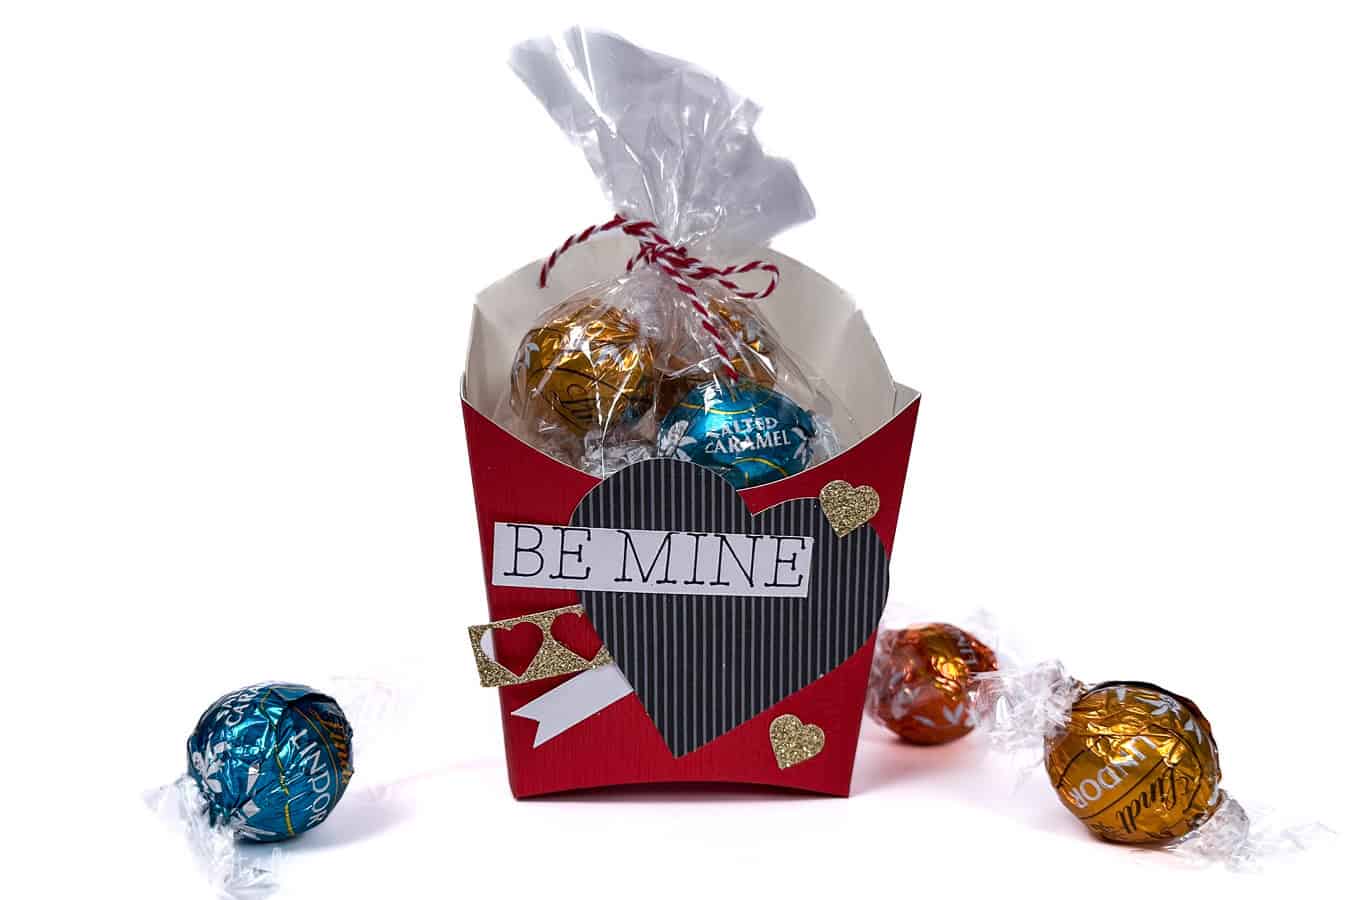
Filling the jar is where you can get creative. This jar makes a great money jar, candy jar or cookie jar!
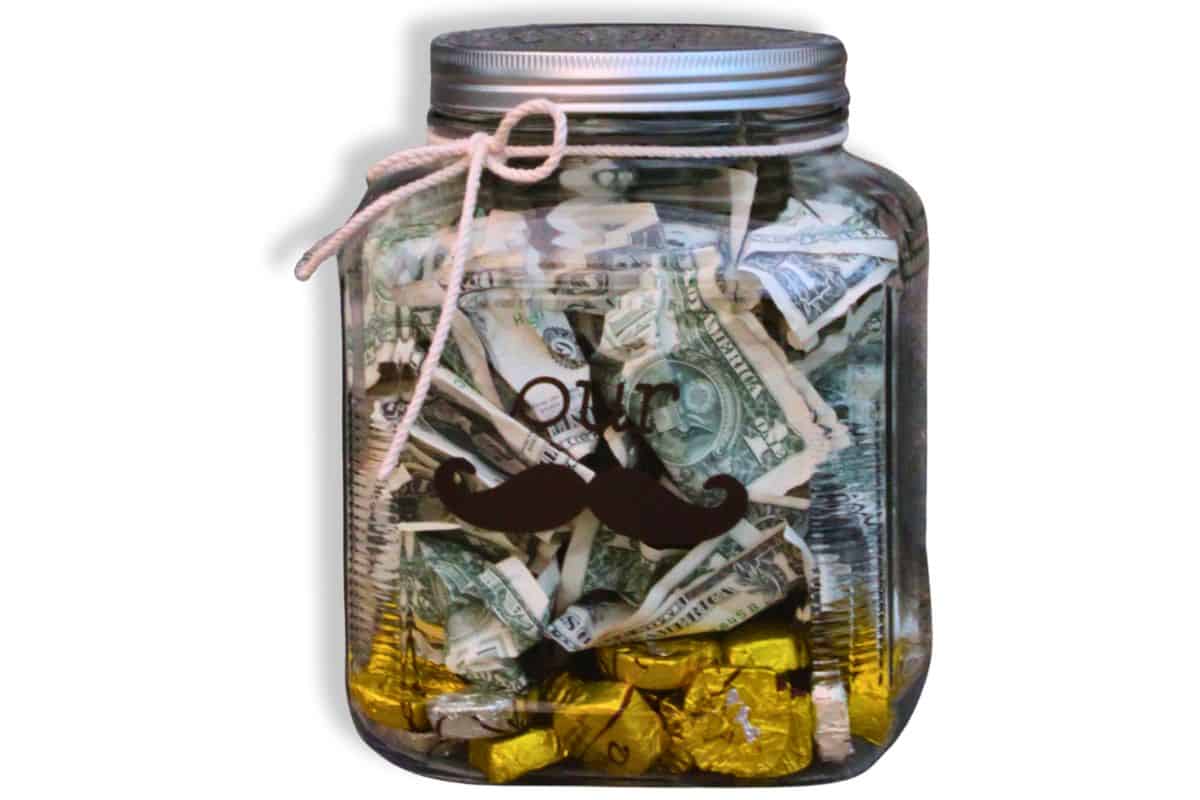
To fill our jar, we got a couple of bags of chocolate and then 50 one-dollar bills to fill the rest of the jar.
My original thought was to roll all of the singles up with ribbon and make it cute. But my husband made the good point that would take up less room making the jar not look as full. So we just crinkled up the bills instead and put them in.
Here is a close-up of "Our Stache Jar" filled with its goodies.
Tie some rope or ribbon around the top of the jar and you have a fun way to gift cash to friends and family on their wedding day.
I hope this guide has inspired you to think outside the box when it comes to giving money as a wedding gift.
By creating a beautiful and personalized money jar, you can turn a simple gesture into a heartfelt and memorable present.
Whether it's helping the newlyweds start their life together and expenses, contributing to their honeymoon fund, or helping them save for a new home, your gift will be appreciated and cherished.
So go ahead, get creative, and make a lasting impression with your thoughtful money jar gift. The bride and groom will love their thoughtful gift.
Absolutely Yes, it is acceptable to give cash as a wedding gift. Cash is a practical and much-appreciated present.
Depending on the relation to the couple, the amount you should give varies.$50-$75 from coworkers and distant relatives.$75-$100 from friends or family members.$100+ from close friends, family, or if you are in the wedding party.
A check may be easier for you to write but cash is easier to receive. Although both forms are completely acceptable and appreciated.
Materials Needed
- Fresh ingredients (vegetables, meats, herbs)
- Cooking oil or butter
- Salt and pepper
- Mixing bowls
- Cutting board and knife
- Measuring cups and spoons
- Cooking utensils (spatula, wooden spoon)
- Baking sheet or cooking pan
Step-by-Step Instructions
Prepare Your Materials
Gather all the required materials and tools. Make sure you have everything listed in the materials section before starting.
Set Up Your Workspace
Find a clean, well-lit area to work. Cover your surface with newspaper or a craft mat to protect it.
Follow the Main Steps
Carefully follow the instructions step by step. Take your time and don't rush through any part of the process.
Add Personal Touches
Once you've completed the basic project, feel free to add your own creative touches and personalization.
Final Assembly
Put all the pieces together according to the instructions. Double-check that everything is secure and properly attached.
Pro Tips
💡 Tip: Take your time and enjoy the creative process
💡 Tip: Don't be afraid to experiment with different colors or materials
💡 Tip: If you make a mistake, don't worry - it's all part of learning
💡 Tip: Share your finished project with friends and family
💡 Tip: Take photos of your progress to document your crafting journey
You Might Also Like

References & Further Reading
Explore these trusted resources to deepen your crafting knowledge and find more inspiration for your next project.
- Do It Yourself — Wikipedia Overview of DIY culture, history, and common techniques across woodworking, home improvement, and crafting.
- Handicraft — Wikipedia Background on traditional handicrafts, materials, and the cultural significance of handmade goods.
- Instructables Community-driven DIY project library with step-by-step photos, videos, and printable instructions.
- Woodworking — Wikipedia Techniques, tools, joinery methods, and the history of working with wood as a craft.
- Sewing — Wikipedia History and modern practice of sewing, including stitches, equipment, and fabric choices.
- Bob Vila Trusted home improvement, tool reviews, and illustrated how-to guides from a household name.
- Papercraft — Wikipedia Art forms that use paper as the primary medium, from origami to paper-mache.
- Michaels — Project Ideas Project walkthroughs, material lists, and weekly craft ideas from a major arts & crafts retailer.