Glass Etching a Snowflake Design on a Candle Plate
Project Overview
This glass etching snowflake tutorial will transform a plain candle plate into a frosty masterpiece. It's easy, fun, and perfect for winter decor!
Add a touch of frosty magic to your winter decor with an etched snowflake candle plate!
Pair with candles, and this easy DIY project will add the perfect handmade touch to your holiday decorations.
If you are new to glass etching, this step-by-step tutorial will help you create a beautiful winter centerpiece that's sure to impress.
Begin in Cricut Design Space and create your design.
I did not save my snowflake design, so you must create your own.
Start with a circle the same size as the candle plate and fill it with different-sized snowflakes.
Attach all of the snowflakes, excluding the circle.
Ensure that the snowflakes are above the circle in the layers panel, highlight both, and select slice.
Highlight and delete each snowflake until you are left with the circle and the snowflake-shaped holes. This will be the stencil.
The color of the vinyl you use isn't important because it will be a stencil and be thrown away when the project is finished.
Once cut, weed the design.
Since this will be a stencil, weed or remove the snowflakes from the vinyl.
Lay a transfer tape sheet over the vinyl design's top and carefully peel.
Press the transfer tape onto the vinyl, then remove the backing sheet.
Lay the design on the mirror plate, press it onto the glass, and push any air bubbles out around the snowflakes.
Press all the areas around the vinyl stencil so the Etchall can't seep underneath.
Peel back the transfer sheet, leaving the vinyl snowflake design on the mirror plate.
The mirror surface should only be seen through the snowflake openings. Cover any remaining areas with painter's tape.
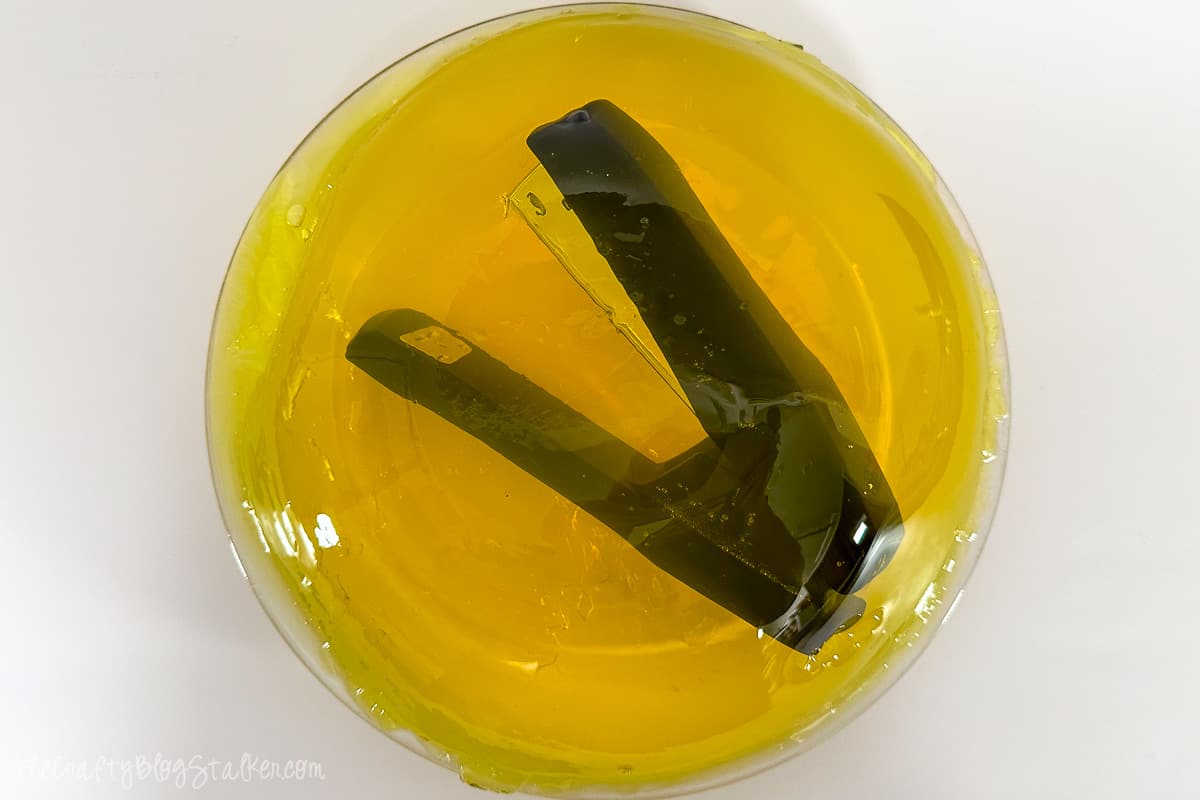
Apply a thick layer of glass etching cream to the top of the mirror and let it sit for 15 minutes.
Etching cream will only affect the open areas of the template.
After 15 minutes, scrape off the excess cream and put it back into the bottle to use again next time.
Rinse the candle plate with water to remove all traces of the cream.
Then, remove the vinyl stencil.
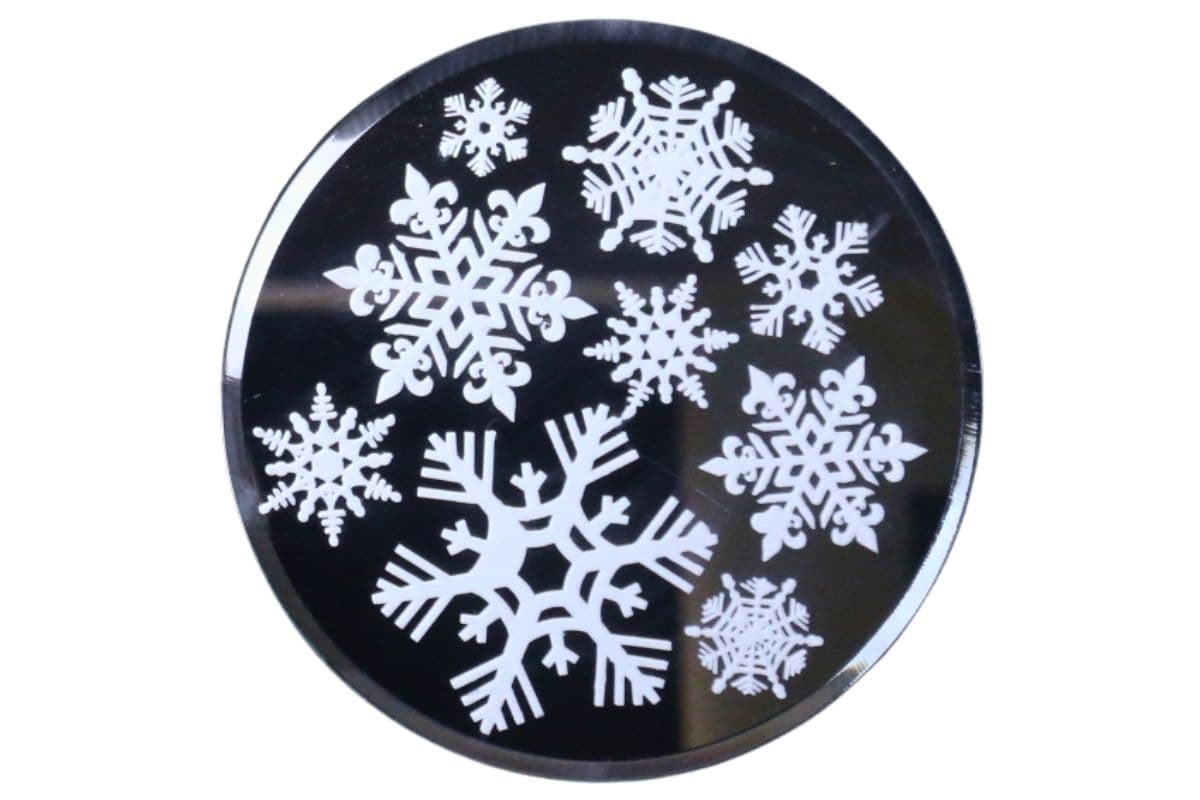
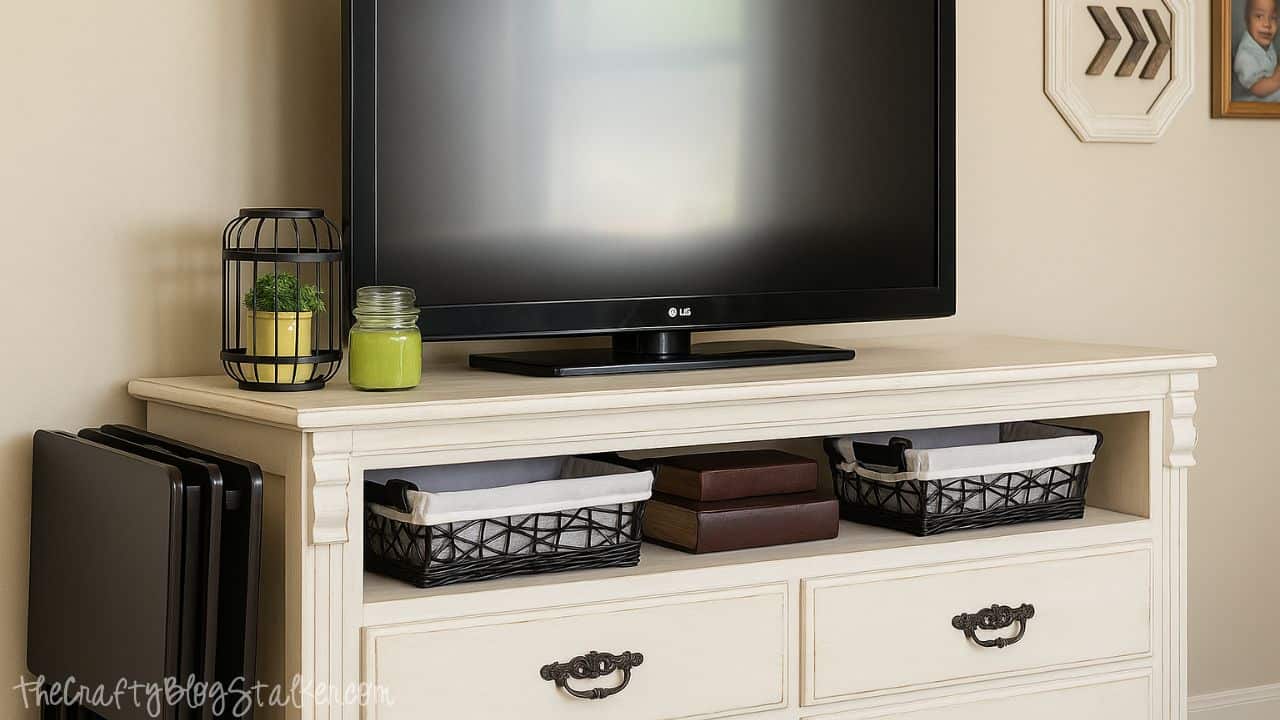
This is how the candle plate looks when it is complete! Isn't that awesome! Now, all it needs is some beautiful candles to hold.
This is my favorite set of3 LED Candles!
The bundles include 3 candles of different heights. The outsides of the candles are wax, so they even look real!
Plus, there is a remote, so the colors can be changed or set to a multi-color setting.
They look beautiful on the new snowflake candle plate.
The candle's color glow is picked up in the snowflake etchings on the mirror.
Materials Needed
- Basic craft supplies
- Scissors or cutting tools
- Adhesive (glue, tape)
- Measuring tools
- Decorative elements
- Protective workspace covering
- Storage containers
- Cleaning supplies
Step-by-Step Instructions
Prepare Your Materials
Gather all the required materials and tools. Make sure you have everything listed in the materials section before starting.
Set Up Your Workspace
Find a clean, well-lit area to work. Cover your surface with newspaper or a craft mat to protect it.
Follow the Main Steps
Carefully follow the instructions step by step. Take your time and don't rush through any part of the process.
Add Personal Touches
Once you've completed the basic project, feel free to add your own creative touches and personalization.
Final Assembly
Put all the pieces together according to the instructions. Double-check that everything is secure and properly attached.
Pro Tips
💡 Tip: Take your time and enjoy the creative process
💡 Tip: Don't be afraid to experiment with different colors or materials
💡 Tip: If you make a mistake, don't worry - it's all part of learning
💡 Tip: Share your finished project with friends and family
💡 Tip: Take photos of your progress to document your crafting journey
You Might Also Like
References & Further Reading
Explore these trusted resources to deepen your crafting knowledge and find more inspiration for your next project.
- Do It Yourself — Wikipedia Overview of DIY culture, history, and common techniques across woodworking, home improvement, and crafting.
- Handicraft — Wikipedia Background on traditional handicrafts, materials, and the cultural significance of handmade goods.
- Instructables Community-driven DIY project library with step-by-step photos, videos, and printable instructions.
- Woodworking — Wikipedia Techniques, tools, joinery methods, and the history of working with wood as a craft.
- Sewing — Wikipedia History and modern practice of sewing, including stitches, equipment, and fabric choices.
- Bob Vila Trusted home improvement, tool reviews, and illustrated how-to guides from a household name.
- Papercraft — Wikipedia Art forms that use paper as the primary medium, from origami to paper-mache.
- Michaels — Project Ideas Project walkthroughs, material lists, and weekly craft ideas from a major arts & crafts retailer.